In general, to extract contents from a RARC (.arc) archive, you need to use yaz0dec (to Yaz0-decode the .arc file and turn it into a .rarc file) and rarcdump (to dump the contents of the .rarc file into a new folder).
IIRC WW texture hacks only work with Dolphin Emulator, and from what I've read I find that to be the case.
EDIT: Meaning you can't repack the textures into the ISO.
Where does it say he put the textures into the actual ISO? I'm pretty sure he's using DOLPHIN for the hack.
From what I read in the description, all he did was make a quick texture map of a test area that was already on the disc that didn't have any textures for it. He didn't insert it into the ISO, he used Dolphin to load it as an alternative to the blank textures.
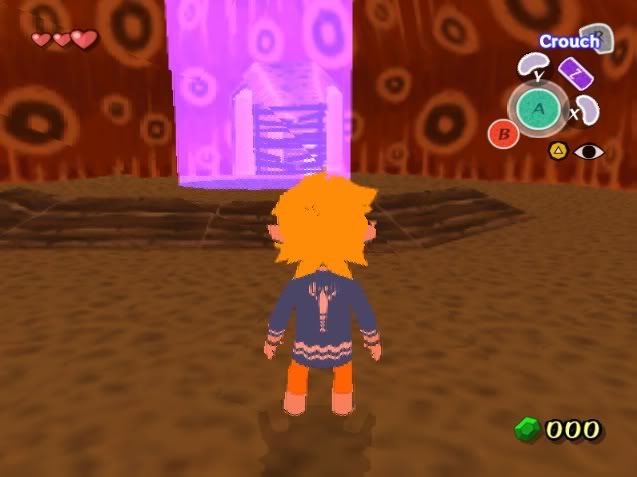
I took the Google SketchUp model, converted it to a .3ds format and used blank's .3ds to .bdl converter.
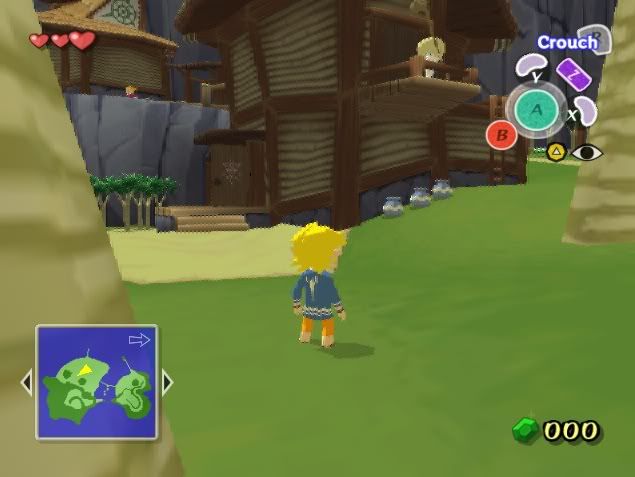
The converter can only use a few textures when converting so I used a green texture since it was suppose to be a forest.
I then used the converted model to replace the older stranger model file that causes the game to crash and the end result is what you see in the video.
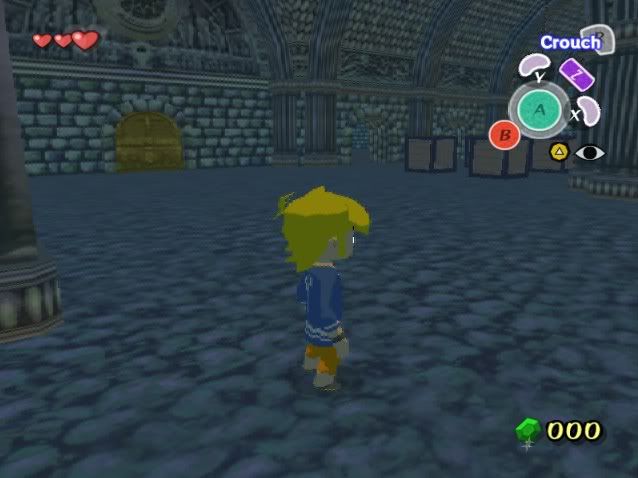
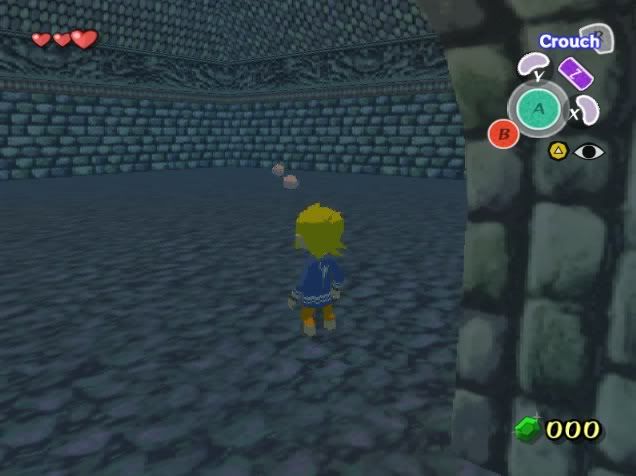
Since the debut of the SpaceWorld 2001 trailer, this room is both visible and playable in game for the first time.
So to be technical and accurate, the green model present in the video isn't actually present on the GameCube disk.
I just created it so I could see where I was going but everything else about the room is indeed unused in the final retail version of the game
A map is essentially a combination of textures and collision points. The collision points were already there, he just edited the old broken texture file and replaced it with a green one. You're saying you want to just switch maps around...what for? Like, I don't get what you're trying to do. Explain in detail.
Errorjack, if you want to replace files with bigger ones, you need to rebuild the ISO
you can do that with "GameCube Rebuilder" (1.0). The ISO must be totally extracted on your computer, then replace the file(s) you want. Finally, do the following in GCR :
"Root > Open"
choose the "root" folder of the extracted ISO
"Root > Save"
choose a name and an extension for your ISO
"Root > Rebuild"
wait until everything is written
you're done