


they (everybody everywhere, believe me I looked) say not to try to replace your ds lite shell at home if you've never done any such thing, but I don't listen very well. My wife told me that if I break it I will not be able to buy another DS, so I almost didn't even try, but I had already ordered the shell and triwing screwdriver, so I went for it. I've read warnings that say that it is likely that you will break the power switch, the volume switch, and the upper screen cable, so I took my time and moved very slowly. All in all it took me 9 hours to swap cases, not including the EZ flash 3 in 1 cart. But I feel I could do this in about three with all I've learned. I bought this case from dealextreme, and I'm not sure I love the build quality, it fits together great, but somehow feels brittle, i don't know, oh well.
What I learned---
1. Move verrrryyyyy slowly so as not to break any cables, the flat wire cable for the top screen is a dirty b*tch. roll it up small and tight when pulling it through the hinge.
2. This one got me. push the top screen flat wire cable ALL THE WAY INTO THE GATE on the mainboard upon reassembly. when you think it is all of the way in, push harder. you will SEE that it can't go any farther because of the indentations on the sides.
3. Remember to salvage the clear light pipe for the leds, because the kit doesn't come with one. If you forget, you have holes in your DSL.
4. when reloading the springs for the shoulder buttons, look closely at their orientation, meaning, make sure that the part of the spring that you are putting into the little slot is not entering at a downward angle, if so swap the springs, you have them on the wrong sides. It might still work, but when you are trying for the fiftieth time to put the back cover on, and you hear the small *click* of the spring popping you might want to throw the thing.
5. If replacing with a clear case, don't try to reuse the stock tape to hold down the speaker wires, it looks kind of messy when its all together.
6. Take note that there are small gaskets under the speakers, I don't know what they are for except possibly vibration prevention, but I forgot them, and they are staying out, because I'm done. I'll post if I notice any reason why they are needed.
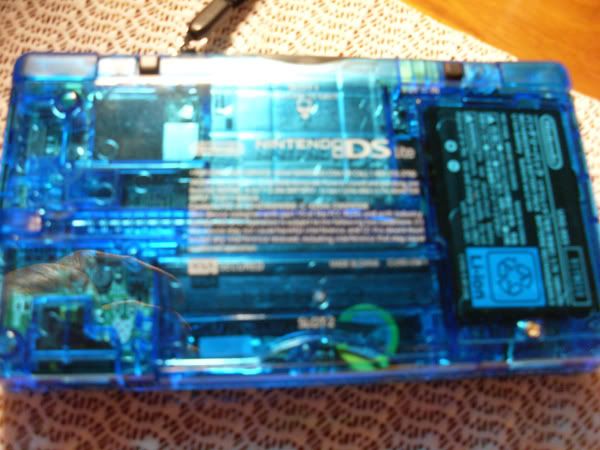
7. If nintendo scribbled all over the inside of your DS (they freaking drew a picture on the board! I'm not kidding!), alcohol and q-tips takes this off just fine, don't worry.
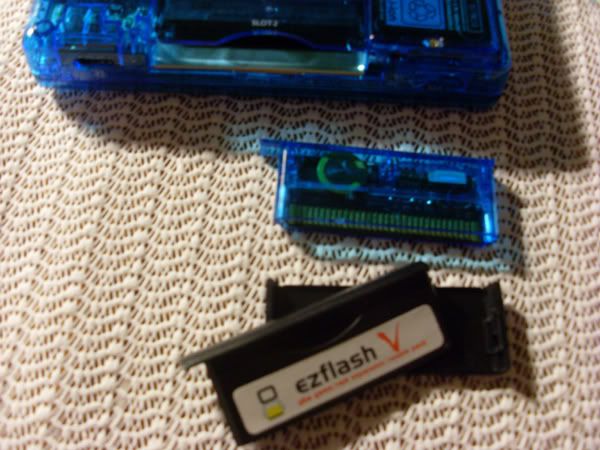
8. when converting a clear slot 2 dust cover to an ez flash 3in1 case, a good amount of tiny modding (needle files, exacto knives) will be needed. before you start, use electrical tape to protect areas you are not cutting/filing. It is easy to scratch the new cover to the point of which you won't want to use it. It is possible to move the rumble motor so you can use the same screw location, I did.
PICS:

What I learned---
1. Move verrrryyyyy slowly so as not to break any cables, the flat wire cable for the top screen is a dirty b*tch. roll it up small and tight when pulling it through the hinge.
2. This one got me. push the top screen flat wire cable ALL THE WAY INTO THE GATE on the mainboard upon reassembly. when you think it is all of the way in, push harder. you will SEE that it can't go any farther because of the indentations on the sides.
3. Remember to salvage the clear light pipe for the leds, because the kit doesn't come with one. If you forget, you have holes in your DSL.
4. when reloading the springs for the shoulder buttons, look closely at their orientation, meaning, make sure that the part of the spring that you are putting into the little slot is not entering at a downward angle, if so swap the springs, you have them on the wrong sides. It might still work, but when you are trying for the fiftieth time to put the back cover on, and you hear the small *click* of the spring popping you might want to throw the thing.
5. If replacing with a clear case, don't try to reuse the stock tape to hold down the speaker wires, it looks kind of messy when its all together.
6. Take note that there are small gaskets under the speakers, I don't know what they are for except possibly vibration prevention, but I forgot them, and they are staying out, because I'm done. I'll post if I notice any reason why they are needed.
7. If nintendo scribbled all over the inside of your DS (they freaking drew a picture on the board! I'm not kidding!), alcohol and q-tips takes this off just fine, don't worry.
8. when converting a clear slot 2 dust cover to an ez flash 3in1 case, a good amount of tiny modding (needle files, exacto knives) will be needed. before you start, use electrical tape to protect areas you are not cutting/filing. It is easy to scratch the new cover to the point of which you won't want to use it. It is possible to move the rumble motor so you can use the same screw location, I did.
PICS:

")


