Hello,gentalmen. I meet a problem after I welded RP2040.After pressing the power on button, the light of RP2040 will first turn blue, then turn red, and then turn off the switch to directly enter the original system. I changed the welding position from EMMC to motherboard and replaced the rubber wire with enameled wire,but the problem is still be not solved. Can anyone help to tell me what the problem is?
I almost always get different results when closing it up, it's not until I triple-check the wires that it works. Starting to wonder if enamel wire is the way to go. What wire type do you prefer?
I usualy use ptfe, teflon, silicon when possible. With enamel everything looks like an unfinished job
Just got this yesterday https://a.aliexpress.com/_mO58PBe
I will give it a shot a post back.
Hello,gentalmen. I meet a problem after I welded RP2040.After pressing the power on button, the light of RP2040 will first turn blue, then turn red, and then turn off the switch to directly enter the original system. I changed the welding position from EMMC to motherboard and replaced the rubber wire with enameled wire,but the problem is still be not solved. Can anyone help to tell me what the problem is?
im in the process modding my lite, and i meet situation like you...
from your video, its not red color, looks like purple or pink . idk.
but i got same situation like you, which from blue > purple(maybe wasnt sure the color) , and lead to boot regular ofw.
but after that i resoldering my cables to resistor47, and i meet red led light=which make the screen only blackscreen, no boot to ofw. (after that i found my r47 soldering to rp2040 kinda bad joint/cracked, i use pinset and touch the R47 and it just fell off)
since im only testing it, i havent cut my cables from D0,CMD,CLK to R47 rp2040, and the cable pretty long, soon prob ill cut to a properly measure length.
(prob in my situation bad joint on the point, also bad soldering/cold soldering/cracked solder)
im pause and waiting my uv light and new soldering iron to continue this process, last time im too careful with the D0,CMD,CLK point, im afraid if i broke the point. (for now i remove all wiring from the RP2040 and my lite still can boot to OFW with no problem)
can someone explain what red led light on rp2040 means ?
also which type cable better for the point ?
for now im using enamel 0.1mm for the point D0 CMD CLK
Another V2 install.
Used 38awg for data lines, 32awg for 3v3 and GND.
I also finally got my hands on 8342 QFN and I have to say, although the soldering is a bit more challenging the end result is more satisfying as it fits nicely and there is no need to cut anything.
Single mosfet worked like a charm.
I usualy use ptfe, teflon, silicon when possible. With enamel everything looks like an unfinished job
Just got this yesterday https://a.aliexpress.com/_mO58PBe
I will give it a shot a post back.
This is the wire i just used (see post above).
Works great and it tins very well. Also I guess since it's single core it keeps the shape better when bent so you can route the wires more easily.
It's the yellow/orange one in this photo.
Another V2 install.
Used 38awg for data lines, 32awg for 3v3 and GND.
I also finally got my hands on 8342 QFN and I have to say, although the soldering is a bit more challenging the end result is more satisfying as it fits nicely and there is no need to cut anything.
Single mosfet worked like a charm.
So, in this singular MOSFET set up, are you running 2 wires from the drain to the 2 caps? Looks like one but its hard to tell but not sure how one wire would be possible!?
So, in this singular MOSFET set up, are you running 2 wires from the drain to the 2 caps? Looks like one but its hard to tell but not sure how one wire would be possible!?
Just one wire. It's not a problem, just bend the wire before soldering so you dont put alot of strain in the capacitors afterwards.
Alot of people did it, it works great (if you use single mosfet)
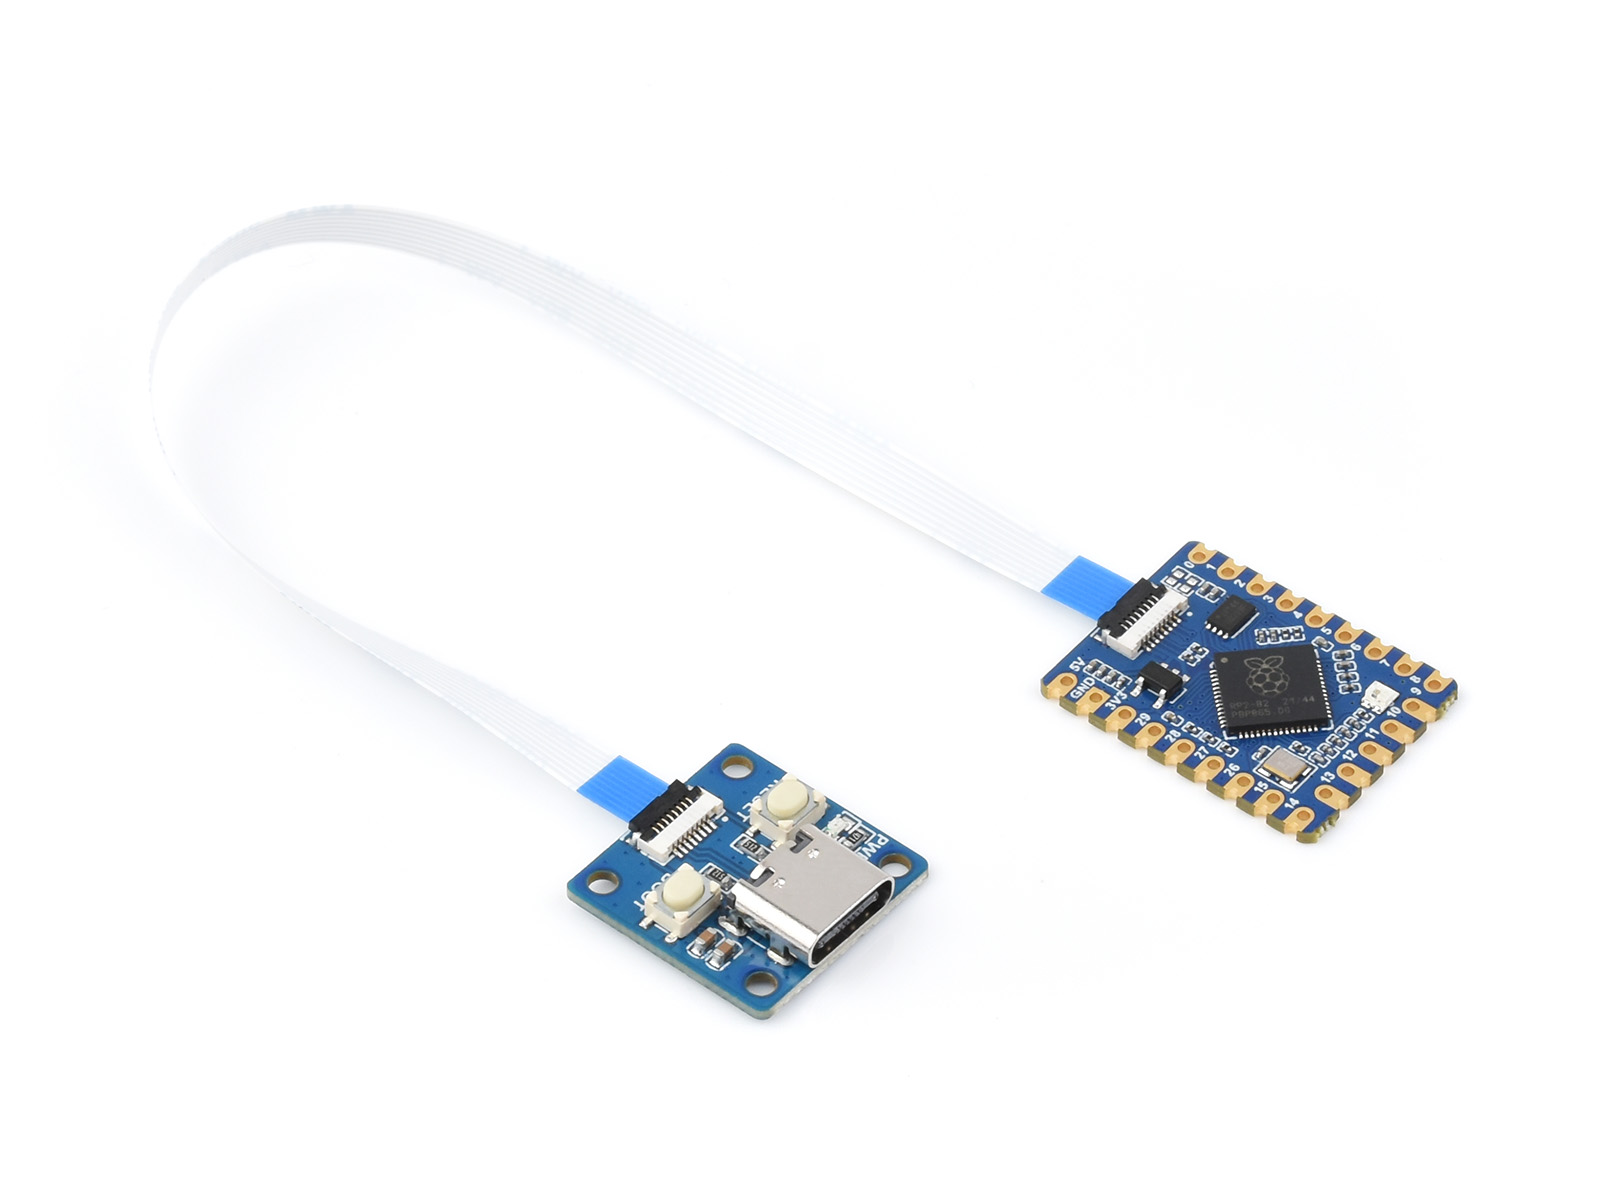
PICOFLY ИX module (verified) https://github.com/SQc04/PICOFLY-X
Use easyeda PRO https://easyeda.com/
The CPU cable will be released later
The resistor uses 0402 and is not recommended for novice welding
The circuit board is 0.8mm thick
V0.8.1+ supports jumpers, V1 V2 LITE OLED universal
Just one wire. It's not a problem, just bend the wire before soldering so you dont put alot of strain in the capacitors afterwards.
Alot of people did it, it works great (if you use single mosfet)
Oh I Seeeeeeeeeeeee. Those supplementary images made it a lot clearer. Basically we get a link from, cap-cap & then cap-drain, in one route (so to speak).
Sony made a shocking announcement today, revealing that the company plans to move away from physical game releases in the future. Citing claims of how the industry is...
After much speculation, a lot of which being caused by dbrand's unceremonious reveal of their Companion Cube casing, the Steam Machine is finally available to order...
Remember when you could get an Xbox Series S for $300? Those were the days. Microsoft has today announced the latest in their console price hikes, seeing their...
Happy June 15th! Well, this one was close enough. Atmosphere has been updated to add support for the latest Nintendo Switch firmware, 22.5.0. This means all of you...
The delays may be behind us, but the news isn't all good for Grand Theft Auto VI. Rockstar have today announced that pre-orders for the game will go live tomorrow, on...
Last month we got confirmation of a new model of Switch 2 to better comply with upcoming EU regulations. With the legislation set to come into effect in February of...
The end has come for the PlayStation 3 and the PlayStation Vita. After supporting the PSN Store on the PS3 and PS Vita since 2006 and 2011 respectively, Sony has...
In case you missed it following the barrage of summer gaming news and events, Square Enix launched Final Fantasy VII Rebirth (FF7 Rebirth) on the Nintendo Switch 2...
In this time of economic uncertainty and rampant price hikes, the Steam sales stand as our final bastions of affordability for those opting to avoid the seas. The...
Indie developer Spiderware has today revealed the Steam Early Access launch date of the pixel art MMO, Soulbound. It originally launched for browser and Discord, and...
Sony made a shocking announcement today, revealing that the company plans to move away from physical game releases in the future. Citing claims of how the industry is...
After much speculation, a lot of which being caused by dbrand's unceremonious reveal of their Companion Cube casing, the Steam Machine is finally available to order...
Remember when you could get an Xbox Series S for $300? Those were the days. Microsoft has today announced the latest in their console price hikes, seeing their...
The delays may be behind us, but the news isn't all good for Grand Theft Auto VI. Rockstar have today announced that pre-orders for the game will go live tomorrow, on...
Last month we got confirmation of a new model of Switch 2 to better comply with upcoming EU regulations. With the legislation set to come into effect in February of...
The end has come for the PlayStation 3 and the PlayStation Vita. After supporting the PSN Store on the PS3 and PS Vita since 2006 and 2011 respectively, Sony has...
Tired of waiting for Game Freak to bring Pokemon Emerald to modern platforms? We've got you covered with a brand new port in the works. Currently available on GitHub...
Apple have today announced price increases, primarily focused on their MacBook and iPad lines. These increases have already come into effect, with both prices and the...
In this time of economic uncertainty and rampant price hikes, the Steam sales stand as our final bastions of affordability for those opting to avoid the seas. The...
Happy June 15th! Well, this one was close enough. Atmosphere has been updated to add support for the latest Nintendo Switch firmware, 22.5.0. This means all of you...


")


![20230418_193033[1] (1).jpg](/data/attachments/368/368000-790b7c3c6f65fb64005362dea8095184.jpg?hash=eQt8PG9l-2)


