


Here is a small guide showing you how I fixed my DS's charging port thing
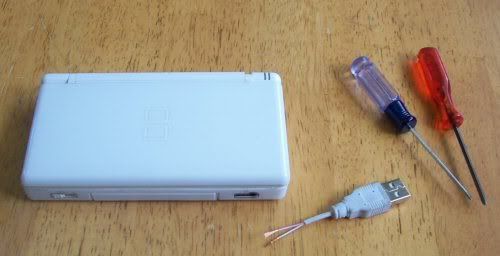
You will need
1x small philips screw driver
1x small tri-wing screw driver (first time I opened my DS i used a shaved down flathead)
1x USN cable (I used my DS USB charger as there are only 2 wires in it (+) and (-), rather than 4 wires)
1x soldering iron (or some other attachment method)
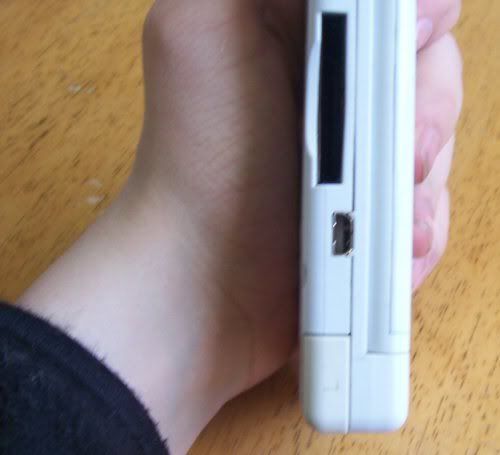
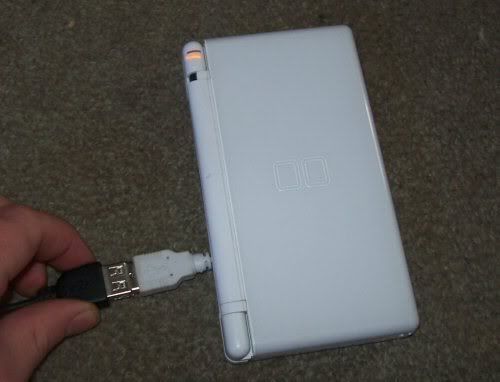
as you can see in the image above there is no tongue or pins inside the charger they snapped off due to the use of a non-nintendo charger.
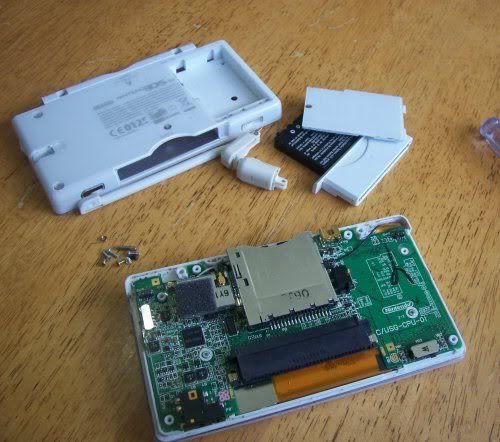
pulled apart
I am going to take off the small metal charger port housing as it is not needed and will get in the way of soldering
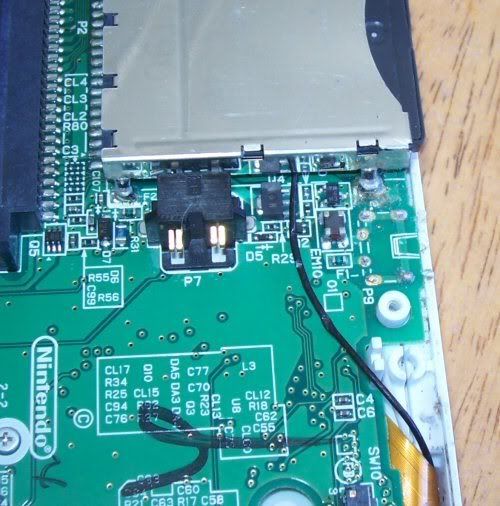
I pulled it off without damaging my DS
[no image]
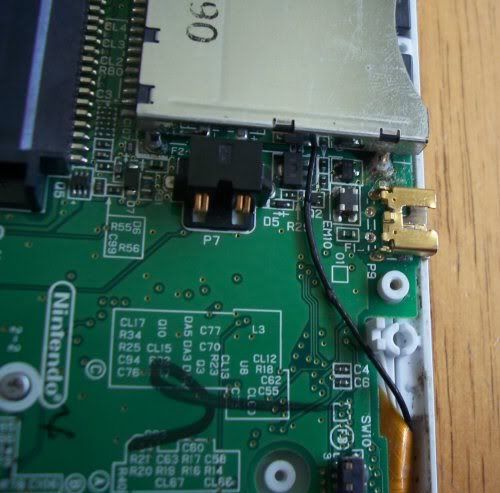
to determine which wires are positive and negative plug the USB cable into a computer and hold the stripped wires to the contact spots, it does not matter if you get the (+) and (-) around the wrong way it will not affect your DS. note I taped the battery in my DS as the battery is needed for the charging light to be on.
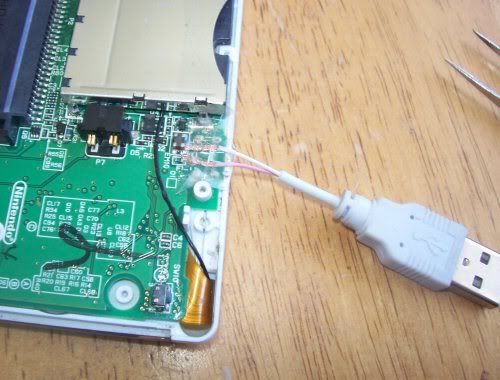
once you have found out which way the wires go tape them down and test if it charges.
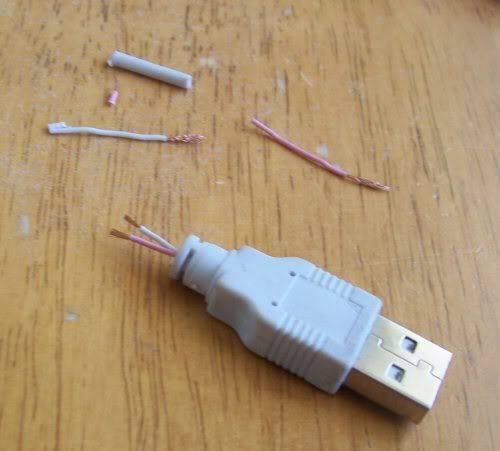
I cut down the wires so that the plug fits more snuggly
[no image]
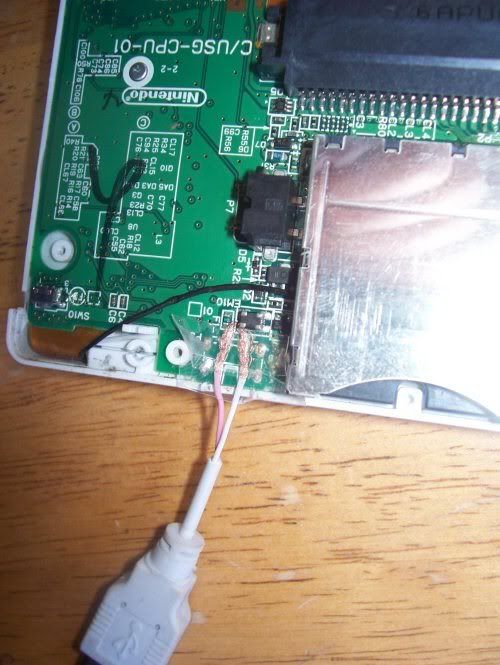
It would be wise to solder the wires into the DS but as my solder is over 15yrs old and cannot get hot enough and I do not think I am experienced enough not to ruin my DS I will just tape the wires into place
as you can see it charges fine, it works better if the plug is held up or the system is upside.
the moral of this story is not to use camera cables or another similar USB charging cables to charge your DS, they will bend the tongue/pins if pushed in to far.
NOTE: use a computer rather than a wall charger for safety reasons as the USB ports are limited in power and will cutt off power and display 'power surge on hub' if you wire anything wrong.
You will need
1x small philips screw driver
1x small tri-wing screw driver (first time I opened my DS i used a shaved down flathead)
1x USN cable (I used my DS USB charger as there are only 2 wires in it (+) and (-), rather than 4 wires)
1x soldering iron (or some other attachment method)
as you can see in the image above there is no tongue or pins inside the charger they snapped off due to the use of a non-nintendo charger.
pulled apart
I am going to take off the small metal charger port housing as it is not needed and will get in the way of soldering
I pulled it off without damaging my DS
[no image]
to determine which wires are positive and negative plug the USB cable into a computer and hold the stripped wires to the contact spots, it does not matter if you get the (+) and (-) around the wrong way it will not affect your DS. note I taped the battery in my DS as the battery is needed for the charging light to be on.
once you have found out which way the wires go tape them down and test if it charges.
I cut down the wires so that the plug fits more snuggly
[no image]
It would be wise to solder the wires into the DS but as my solder is over 15yrs old and cannot get hot enough and I do not think I am experienced enough not to ruin my DS I will just tape the wires into place
as you can see it charges fine, it works better if the plug is held up or the system is upside.
the moral of this story is not to use camera cables or another similar USB charging cables to charge your DS, they will bend the tongue/pins if pushed in to far.
NOTE: use a computer rather than a wall charger for safety reasons as the USB ports are limited in power and will cutt off power and display 'power surge on hub' if you wire anything wrong.


