Hi everyone, as you all know the screens from the 3DS touch and cause vertical lines along the top screen and a circle pad line as well. I was very annoyed with this as even a screen protector can not protect your screens from this as in the long run it can even lead to a scratch WITH a screen protector. So I took it upon myself to make my own little bumpers to protect my screens.
Bear in mind, this may not look pretty but for those who like a screen without scratches this is an okay solution.
Project Cost $3.07 (That's what it cost me)
What do you need:
Scissors
Microfiber Cloth (Optional)
Shepherd 1/2 in. Surface Gard Self-Adhesive Vinyl Round Bumpers 16 Pack (Please Note: They sell a square pack as well I have not tried that though because my Home Depot had none in stock).
http://www.homedepot.com/h_d1/N-5yc1v/R-10...catalogId=10053
Step One: Cut out a single circle shaped bumper from the package.
Step Two: Cut the circle shaped bumper into either a square shape or a triangle shape. (Please Note: I used a regular bumper from the package and it did not work, because when placed on the left side of the 3DS where the Circle & D-Pads are it presses slightly down on the D-Pad).
Step Three: This is optional but wipe down your screen with a microfiber cloth and clean it well and apply both of your triangle or square shaped bumpers on the top left and top right of your system. Press them against the top portion of the screen to make them stick good (Don't worry they can be peeled off quite easily, you just want to make sure you aren't able to accidentally flick them off with your finger).
Step Four: Your done, enjoy your new protective bumpers
 .
.
Pictures of my finished project:
Nintendo 3DS closed with bumpers applied.

SD Card side of the 3DS with bumpers applied.

Angled side of SD Card with bumpers applied.

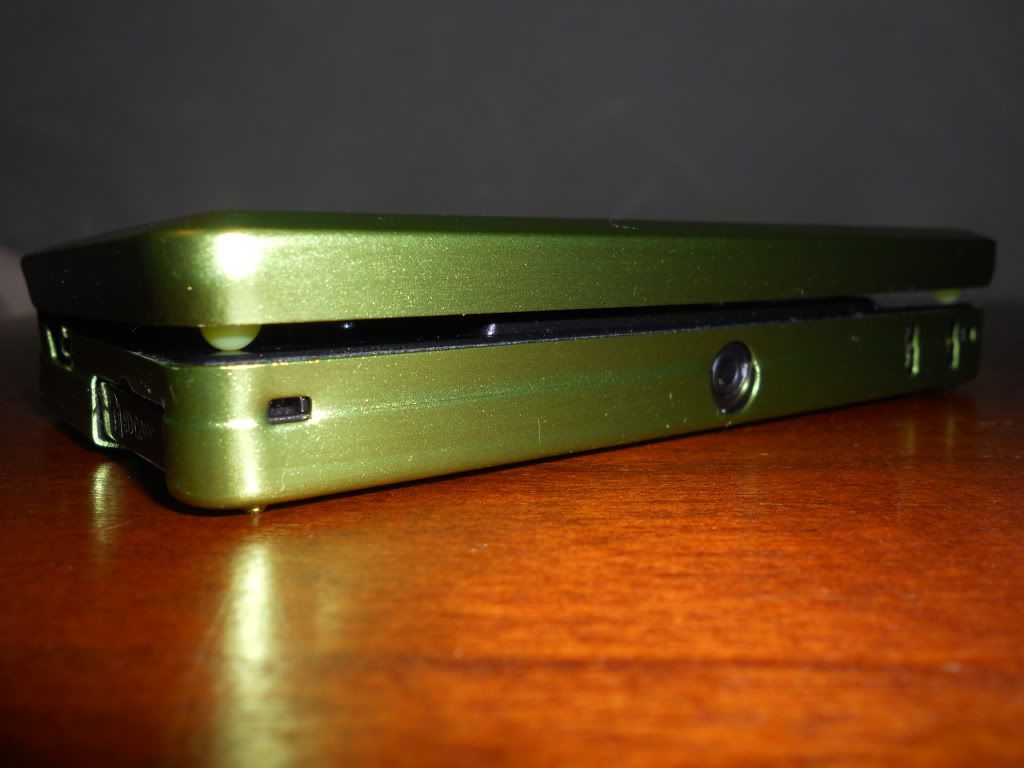
3D Depth Slider side of 3DS with bumpers applied.

Angled side of 3D Depth Slider with bumpers applied.

Nintendo 3DS Full Screenshot with bumpers applied.

Nintendo 3DS Screen close up with bumpers applied.

Bear in mind, this may not look pretty but for those who like a screen without scratches this is an okay solution.
Project Cost $3.07 (That's what it cost me)
What do you need:
Scissors
Microfiber Cloth (Optional)
Shepherd 1/2 in. Surface Gard Self-Adhesive Vinyl Round Bumpers 16 Pack (Please Note: They sell a square pack as well I have not tried that though because my Home Depot had none in stock).
http://www.homedepot.com/h_d1/N-5yc1v/R-10...catalogId=10053
Step One: Cut out a single circle shaped bumper from the package.
Step Two: Cut the circle shaped bumper into either a square shape or a triangle shape. (Please Note: I used a regular bumper from the package and it did not work, because when placed on the left side of the 3DS where the Circle & D-Pads are it presses slightly down on the D-Pad).
Step Three: This is optional but wipe down your screen with a microfiber cloth and clean it well and apply both of your triangle or square shaped bumpers on the top left and top right of your system. Press them against the top portion of the screen to make them stick good (Don't worry they can be peeled off quite easily, you just want to make sure you aren't able to accidentally flick them off with your finger).
Step Four: Your done, enjoy your new protective bumpers
Pictures of my finished project:
Nintendo 3DS closed with bumpers applied.
SD Card side of the 3DS with bumpers applied.
Angled side of SD Card with bumpers applied.
3D Depth Slider side of 3DS with bumpers applied.
Angled side of 3D Depth Slider with bumpers applied.
Nintendo 3DS Full Screenshot with bumpers applied.
Nintendo 3DS Screen close up with bumpers applied.