Hacking Internal Hard Drive for Wii mod

Hard Drive didn't arrive today..Im sorry guys. The USB cord didn't even arrive.. It was supposed to come in last thursday. >_<

Tomorrow's goin gto be really hectic, hopefully they both come in, but I really don't know if i'll have enough time to get the tutorial done.
 
Okay. The hard drive&USB cord came in today, I've got most of the mod finished& pics taken.

I'm cleaning up a cut I made, which will take me a lot of time, especially considering i'm filling out scholarship applications at the same time. I've got a lot of work to do tonight, so I have no idea if i'll finish the tutorial tonight. I promise it tomorrow though, for a fact. It's all done, and working.

Here's a list of supplys you'll need.

-Electric tape
-Triwing Screwdriver
-White Nail polish *
-Soldering Iron *
-2.5" Hard drive with small inclosure
-USB female to male (12 inch if USB port will be by other USB ports, 3 inch if USB port will be by power outlet)
-Some sort of plastic, heat resistant cusioning
-Dremel + Small Dremel cutting bit
-Small flathead screwdriver*
-Philips screwdriver
-Canned Air*
-USB male to male (size doesn't matter)
-Sandpaper (1000-2000 grit)

Things marked with astricks aren't required, just recommended.

 
what's the nail polish for?
there really shouldnt be any external screws to hide.

btw, just to add: whatever you do has to be better than nintendo's wii with the harddrive in it - they really should submit that junk to "hack-a-day".
wtf.gif
 
I've never seen Nintendo's internal hard drive >_>

But if it's made professionally, I doubt it'll be better than mine. Mine's kind of sloppy, but it doesn't make the case look any different..Kinda.

The nail polish is to clean up the cut. My cut, for example, was lopsided as hell, so with my amazing creativity (
rolleyes.gif
) and used the nail polish to fill it in.

I wish I had more experiance with a dremel, this would've turned out a lot better.. I like it the way it is, but i just don't think it's clean enough. There's not enough room to work with when using the dremel, even if you take the entire damned thing apart into individual pieces.

I forgot to mention that i'm also doing another mod on my Wii tomorrow. Lol. But, i'll do that after my tutorial.
 
dremmel is too powerfull really, i use a hobby-drill.
like a mini dremmel with a 12v power supply.
also, you can get a pack of 300 bits for about 30$ if you search the brand "hobbycraft"

cleaning up plastic edges is easy - scrape them with the blunt top edge of a craft-knife - i think you call them "box-cutters" in the u.s.

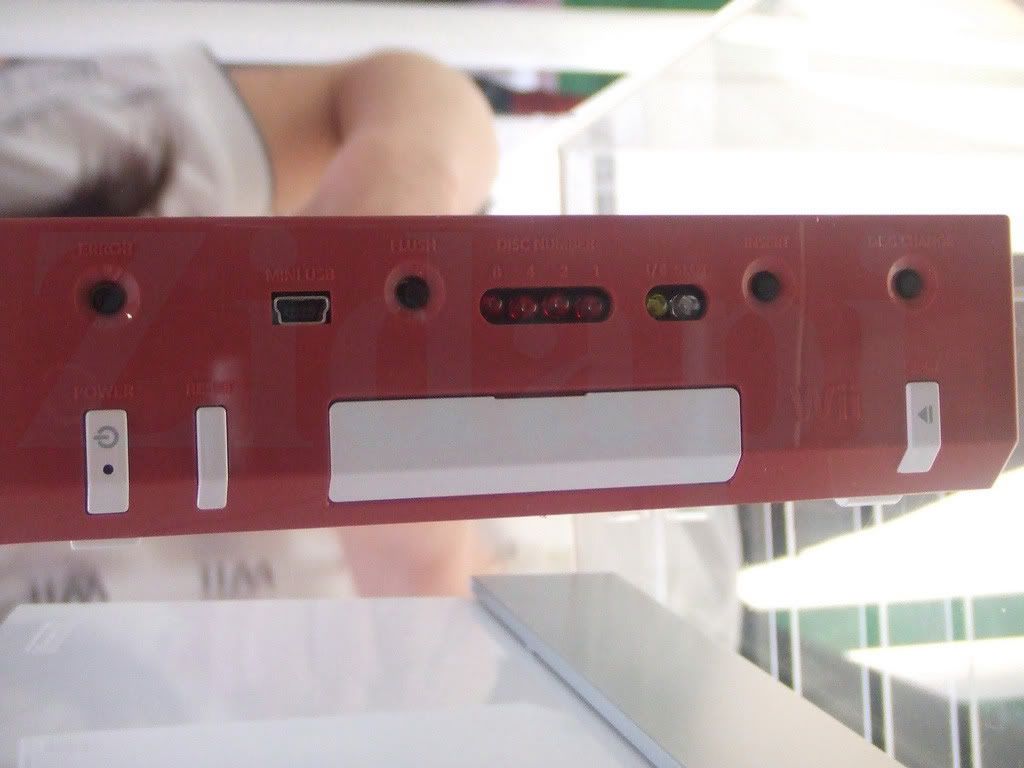
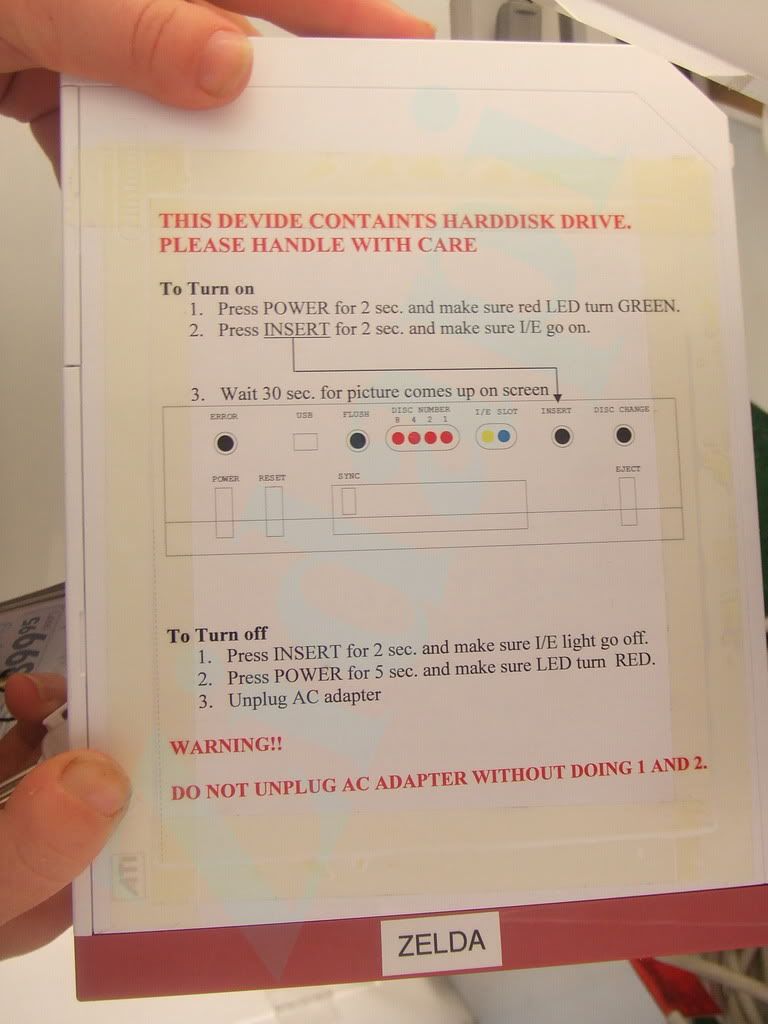
these foto's arent mine btw, but my friend uses these where he works!!!
RVT-HReader05.jpg


RVT-HReader03.jpg
 
Anxiously awaiting the tutorial. Still wondering exactly how to successfully remove the dvd drive and allow the usb loader to work.
 
To anyone who's wondering, i am working on it writing the tutorial..it's huge. There's like 70 images. Its taking me longer than the mod took >_>

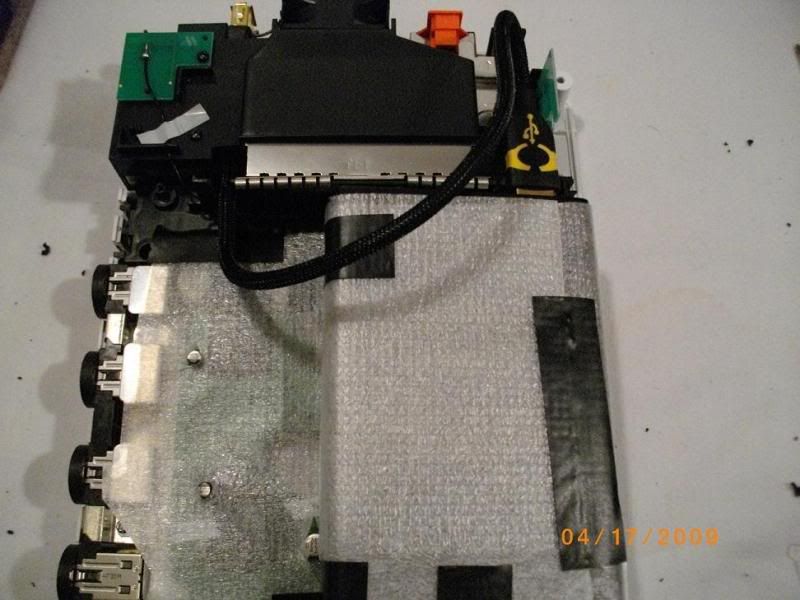
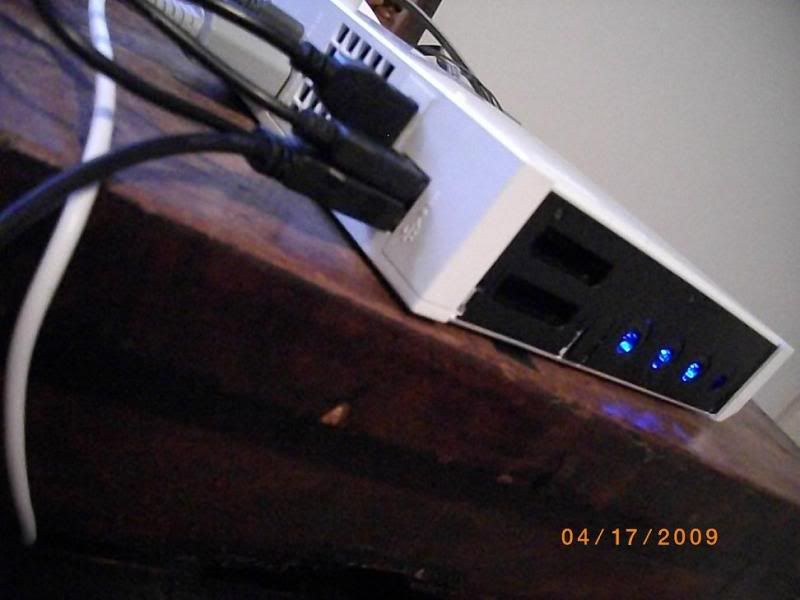
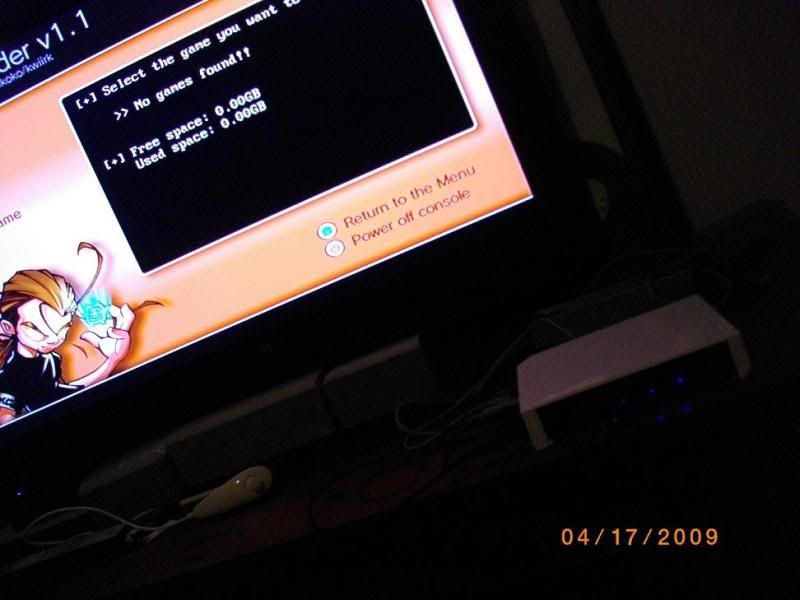
Here's some pics of the final result:

IMGP0193.jpg


IMGP0197.jpg


IMGP0198.jpg


The last pic says "0.00gb" because I haven't created a partition on the hard drive yet
wink.gif
 
WOW!! Really impressive!!
BTW, I notice a green PCB covered with bubble wrap in the 1st picture, is that the remaining part of the DVD control board?
 
wqu said:
WOW!! Really impressive!!
BTW, I notice a green PCB covered with bubble wrap in the 1st picture, is that the remaining part of the DVD control board?


Yessir.

I'm starting to worry. I know some sites limit the amount of pictures that you can have in a topic..That would suck really bad. The actual total amount is 30 pics. I exaggerate sometimes haha.
 

Site & Scene News

Popular threads in this forum