


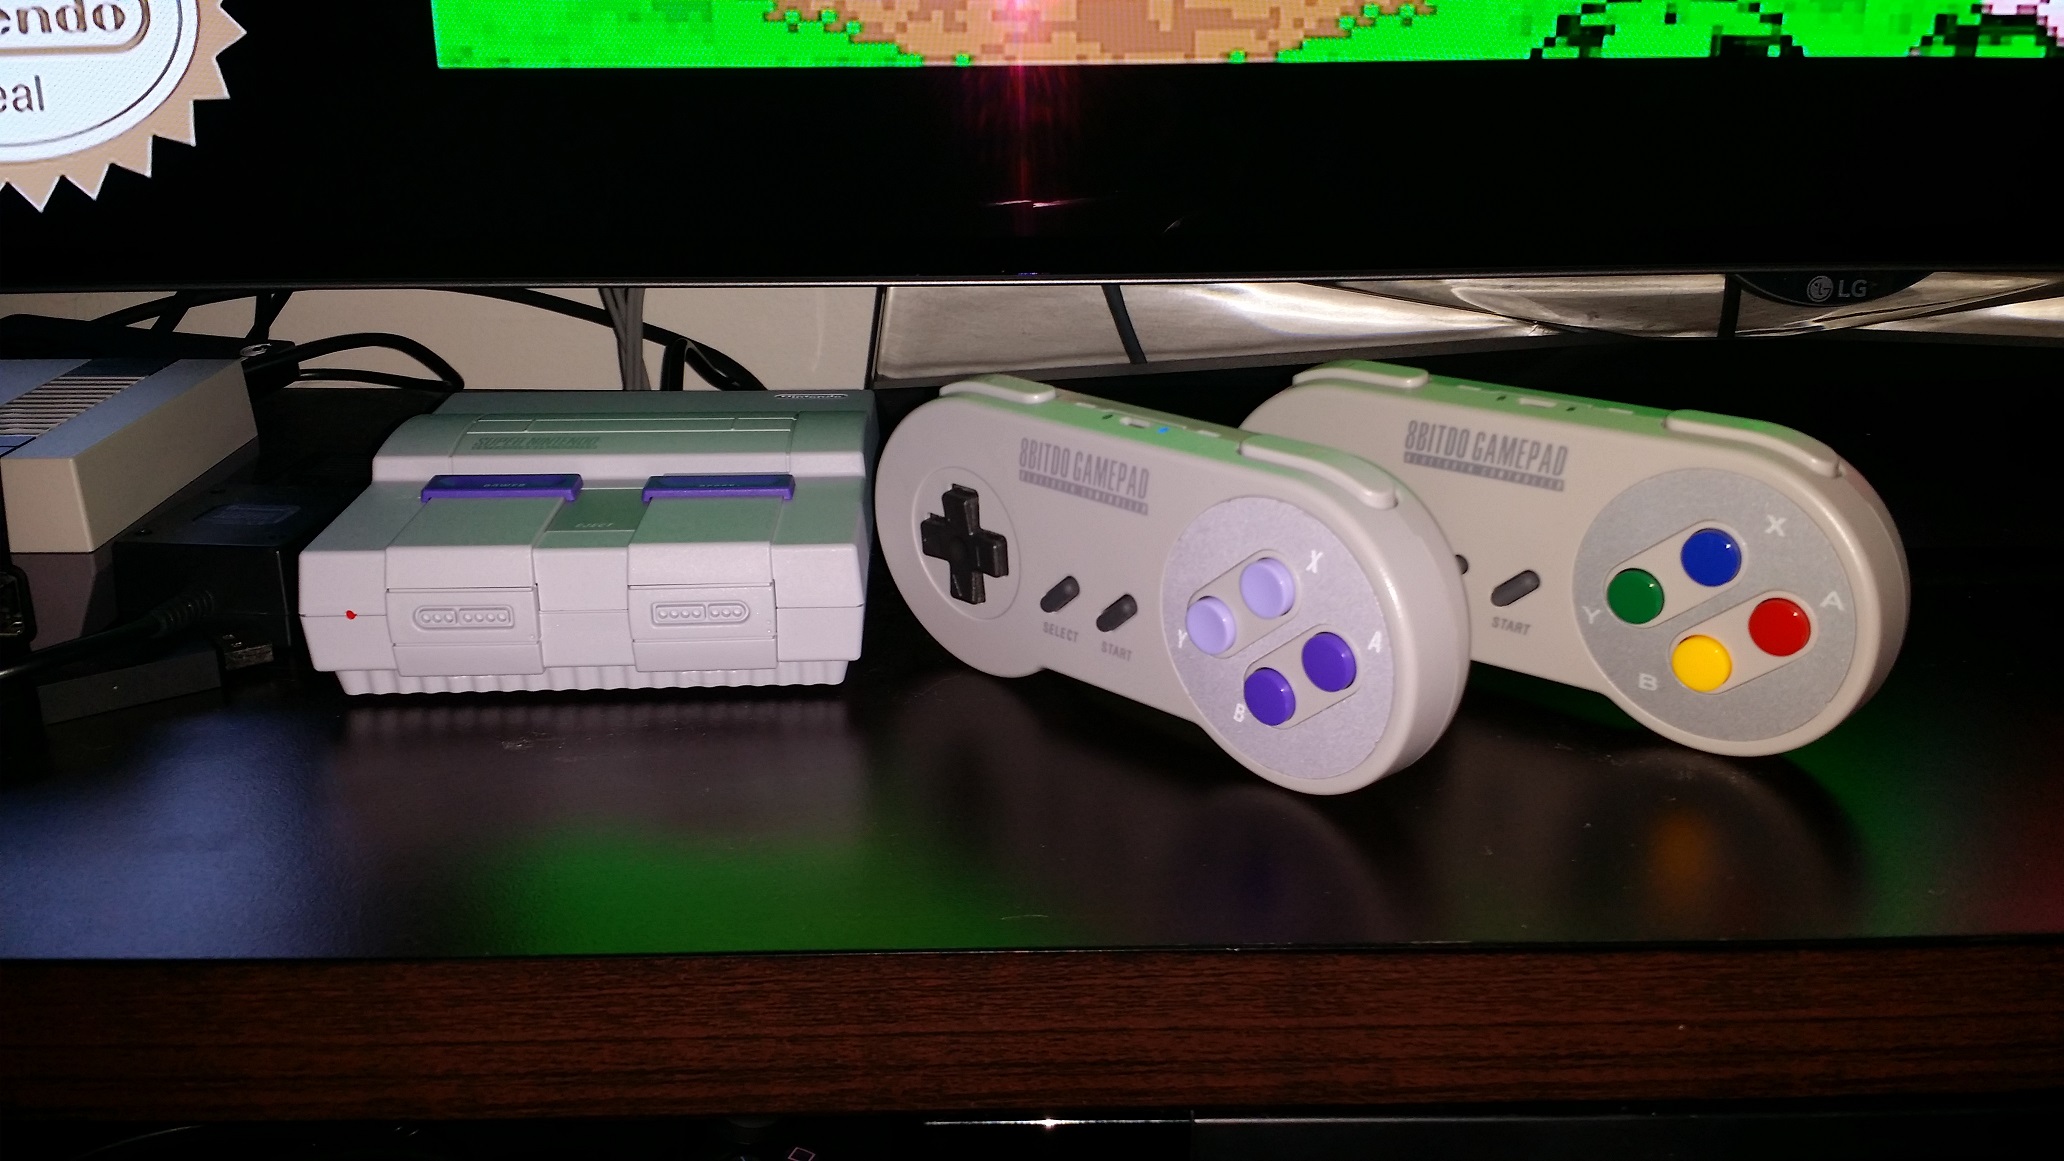
When I got my SNES classic console I was sad to see how cheap the front panel looked when you opened it up, the little pins locking it in place will not remain firm for a long time, I knew I wouldn't let controllers plugged in all the time because, well because it's ugly and wires. I already had a 8bitdo NES classic Retro Receiver which I loved. (coupled with NES30 and SNES30 it's perfect for wireless retro gaming, also compatible with PS3/PS4/Switch Pro controller/Joycons)
So was born my desire to mod the console to be entirely wireless. I had a concept in mind, cloning the controller ports and making them internal so you wouldn't have two wireless dongles sticking out the front of the console.
As soon as 8bitdo updated their retro receiver to be compatible with the SNES Classic it was Go, I knew Hakchi would be out soond so it satisfied my need for tinkering with it!
Here's how you can do it:
Required:
-2X Wiimote "nunchuck" female connector (can use clone controllers)
-1 or 2 Retro receivers
-wires
-soldering iron
-rosin core solder
1- First you have to open up the console which is quite easy as it's only 4 philipps screws under each plastic pads under the console.
2- Unscrew the shielding/heat sink from the MB (same screws as the case)
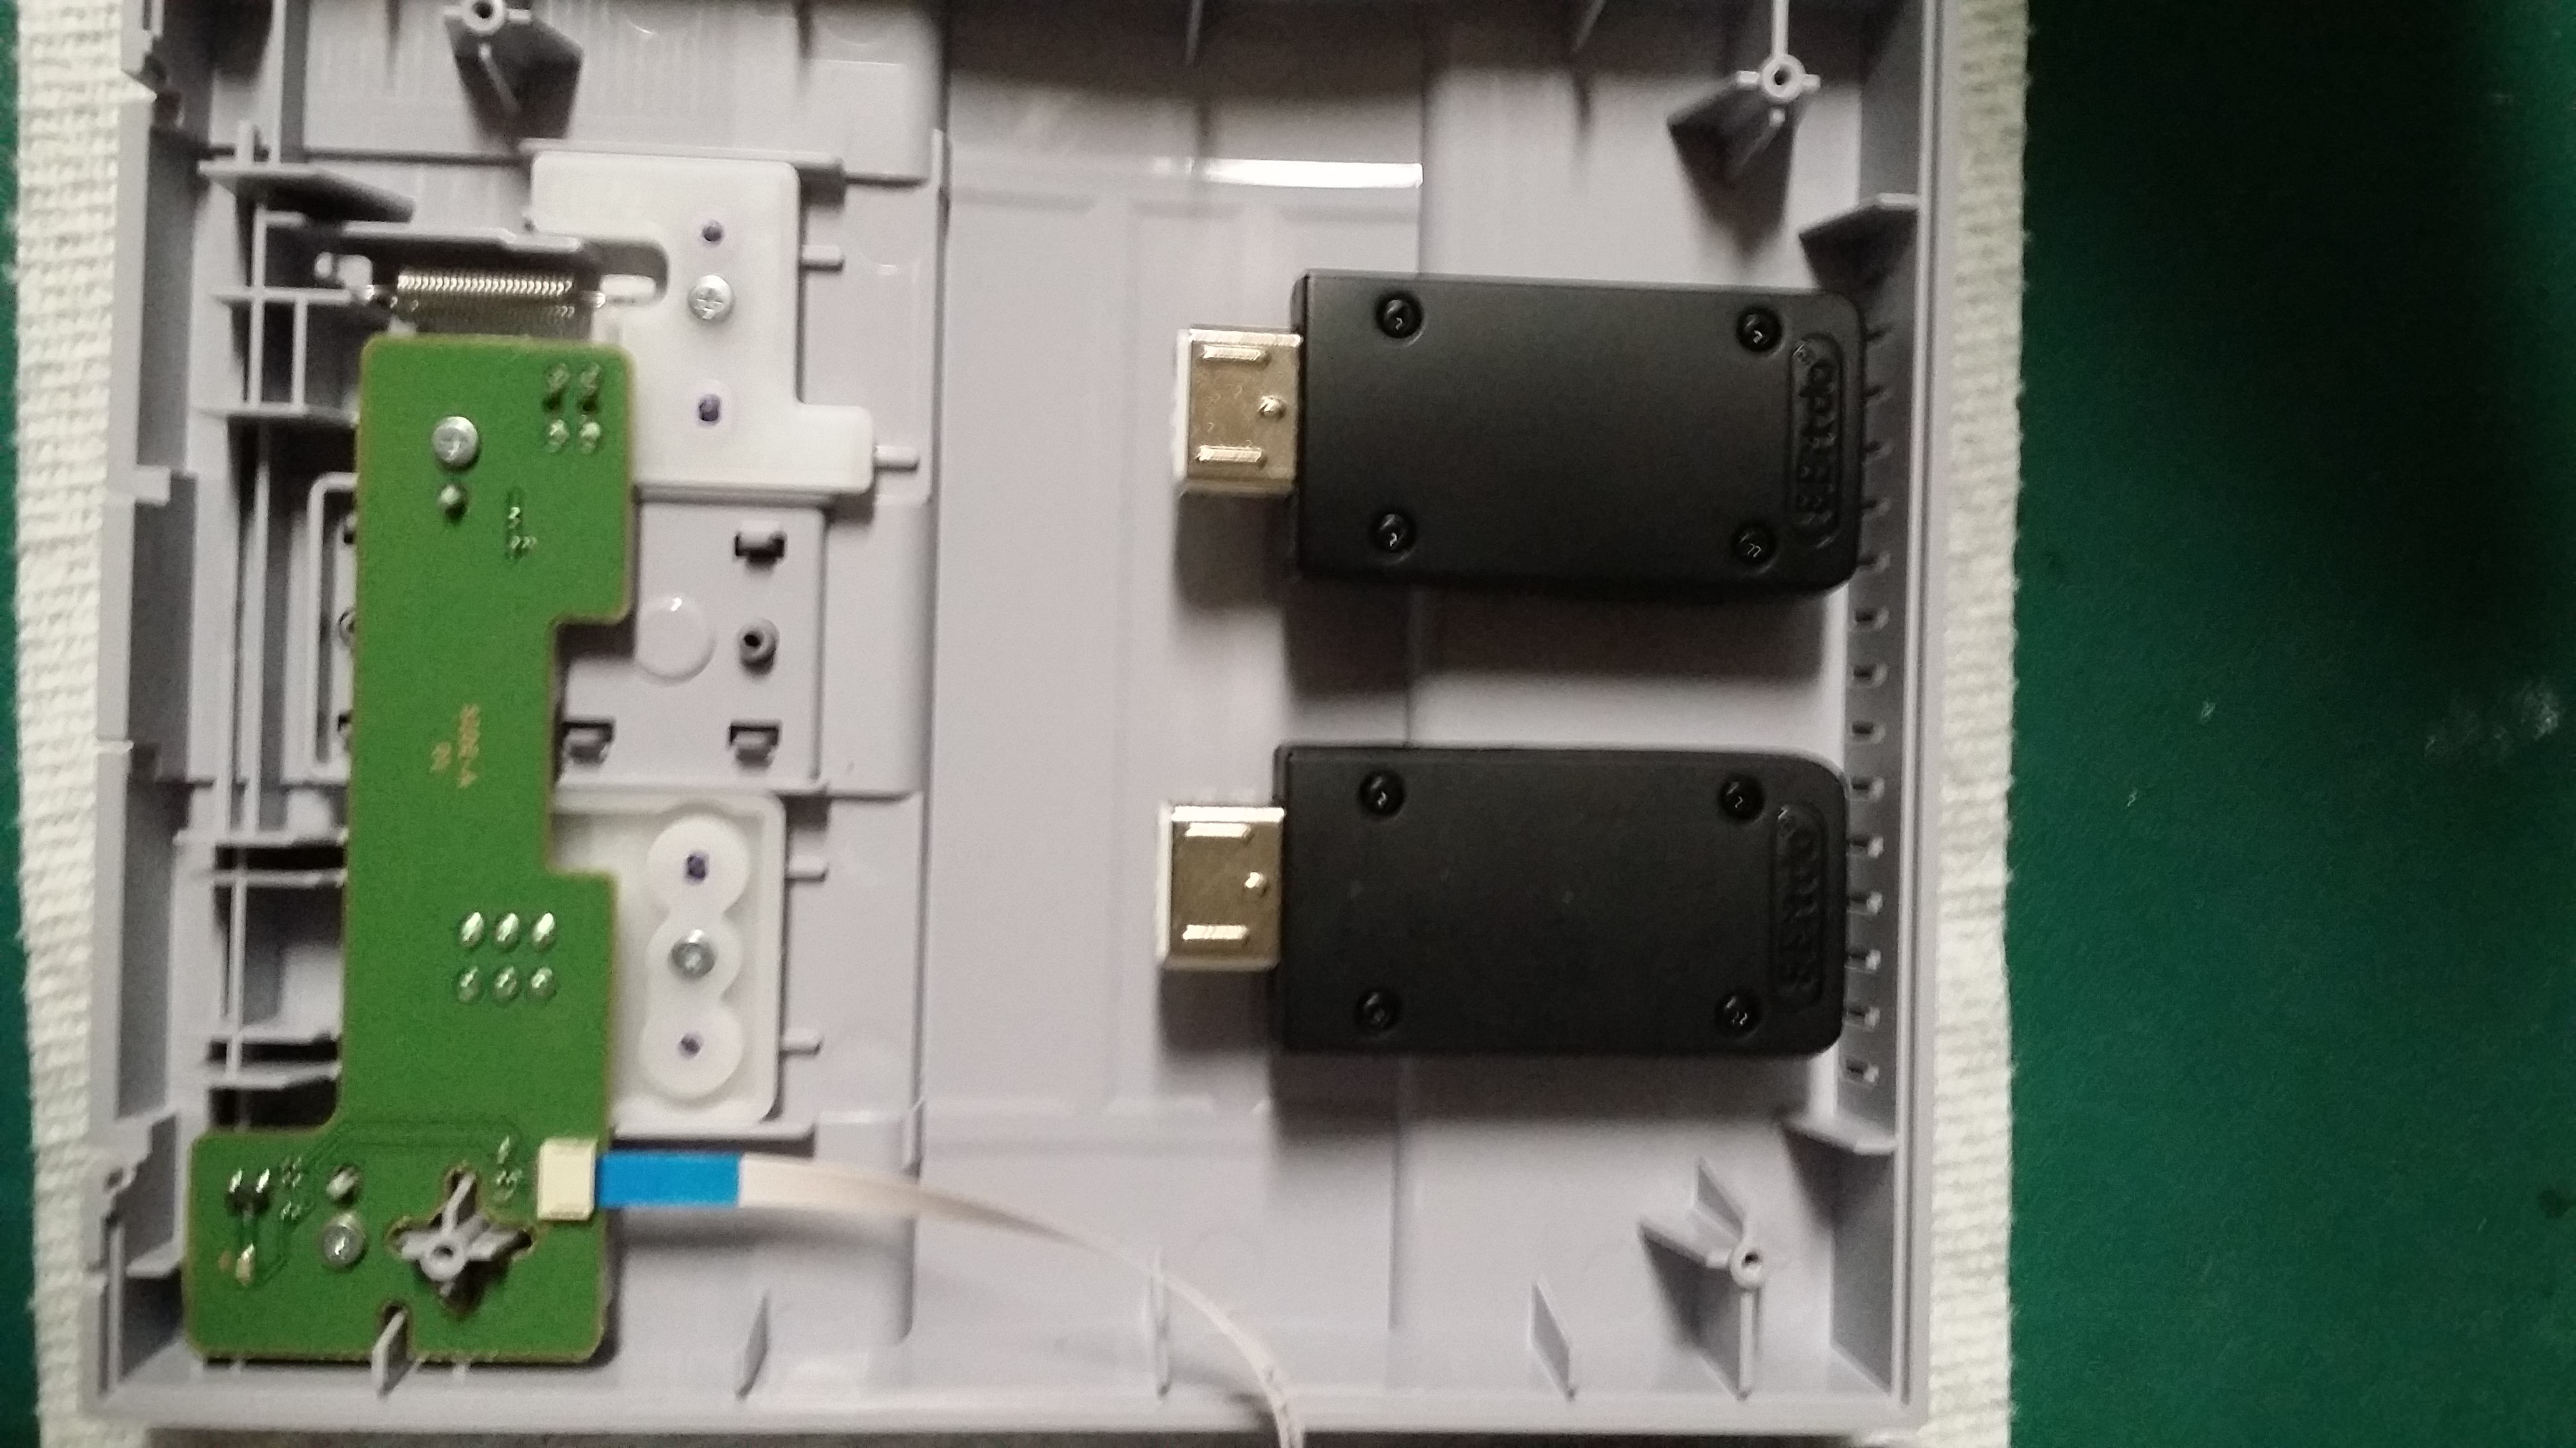
3- Prepare your Wireless Retro Receivers;
To be able to use the pair button (if you plan on using your controllers for other systems) place them in the top part of the console shell with the red button facing the rear of the console so you can see the blinking lights and have access to the pair button through the vents. (I personally used hot glue to stick them, didn't use much if I ever want to remove them) **place them facing the top of the shell because your connectors pins could touch the shielding/heatsink and could short, MAKE SURE THE BUTTONS LINE WITH THE VENTS
4- Start soldering wires to the Wii remote connector;
Your connector will have 6 pins and 4 leg, solder a wire to one of the leg for ground.
The connector pins should look like this:
FRONT OF THE CONNECTOR
________________ leg°_________°leg
______________________° ° °
______________________° ° °
________________ leg°_________°leg
The remaining 5 cables should be wired to 5 of the pins, only the top middle pin is left empty, we'll label them like this:
1- Ground leg (any)
2- Top right
3- Bottom right
4- Top left
5- bottom middle
6- bottom left
Once your connector has it's 6 wires soldered I advice to secure everything with hot glue, you don't want wires to touch and short!!
5- You can now solder your connector to the board, it's an easy step, the reason I numbered the pins as such, that's the order they're in on the connector, you want to solder on the obvious traces next to the connector.
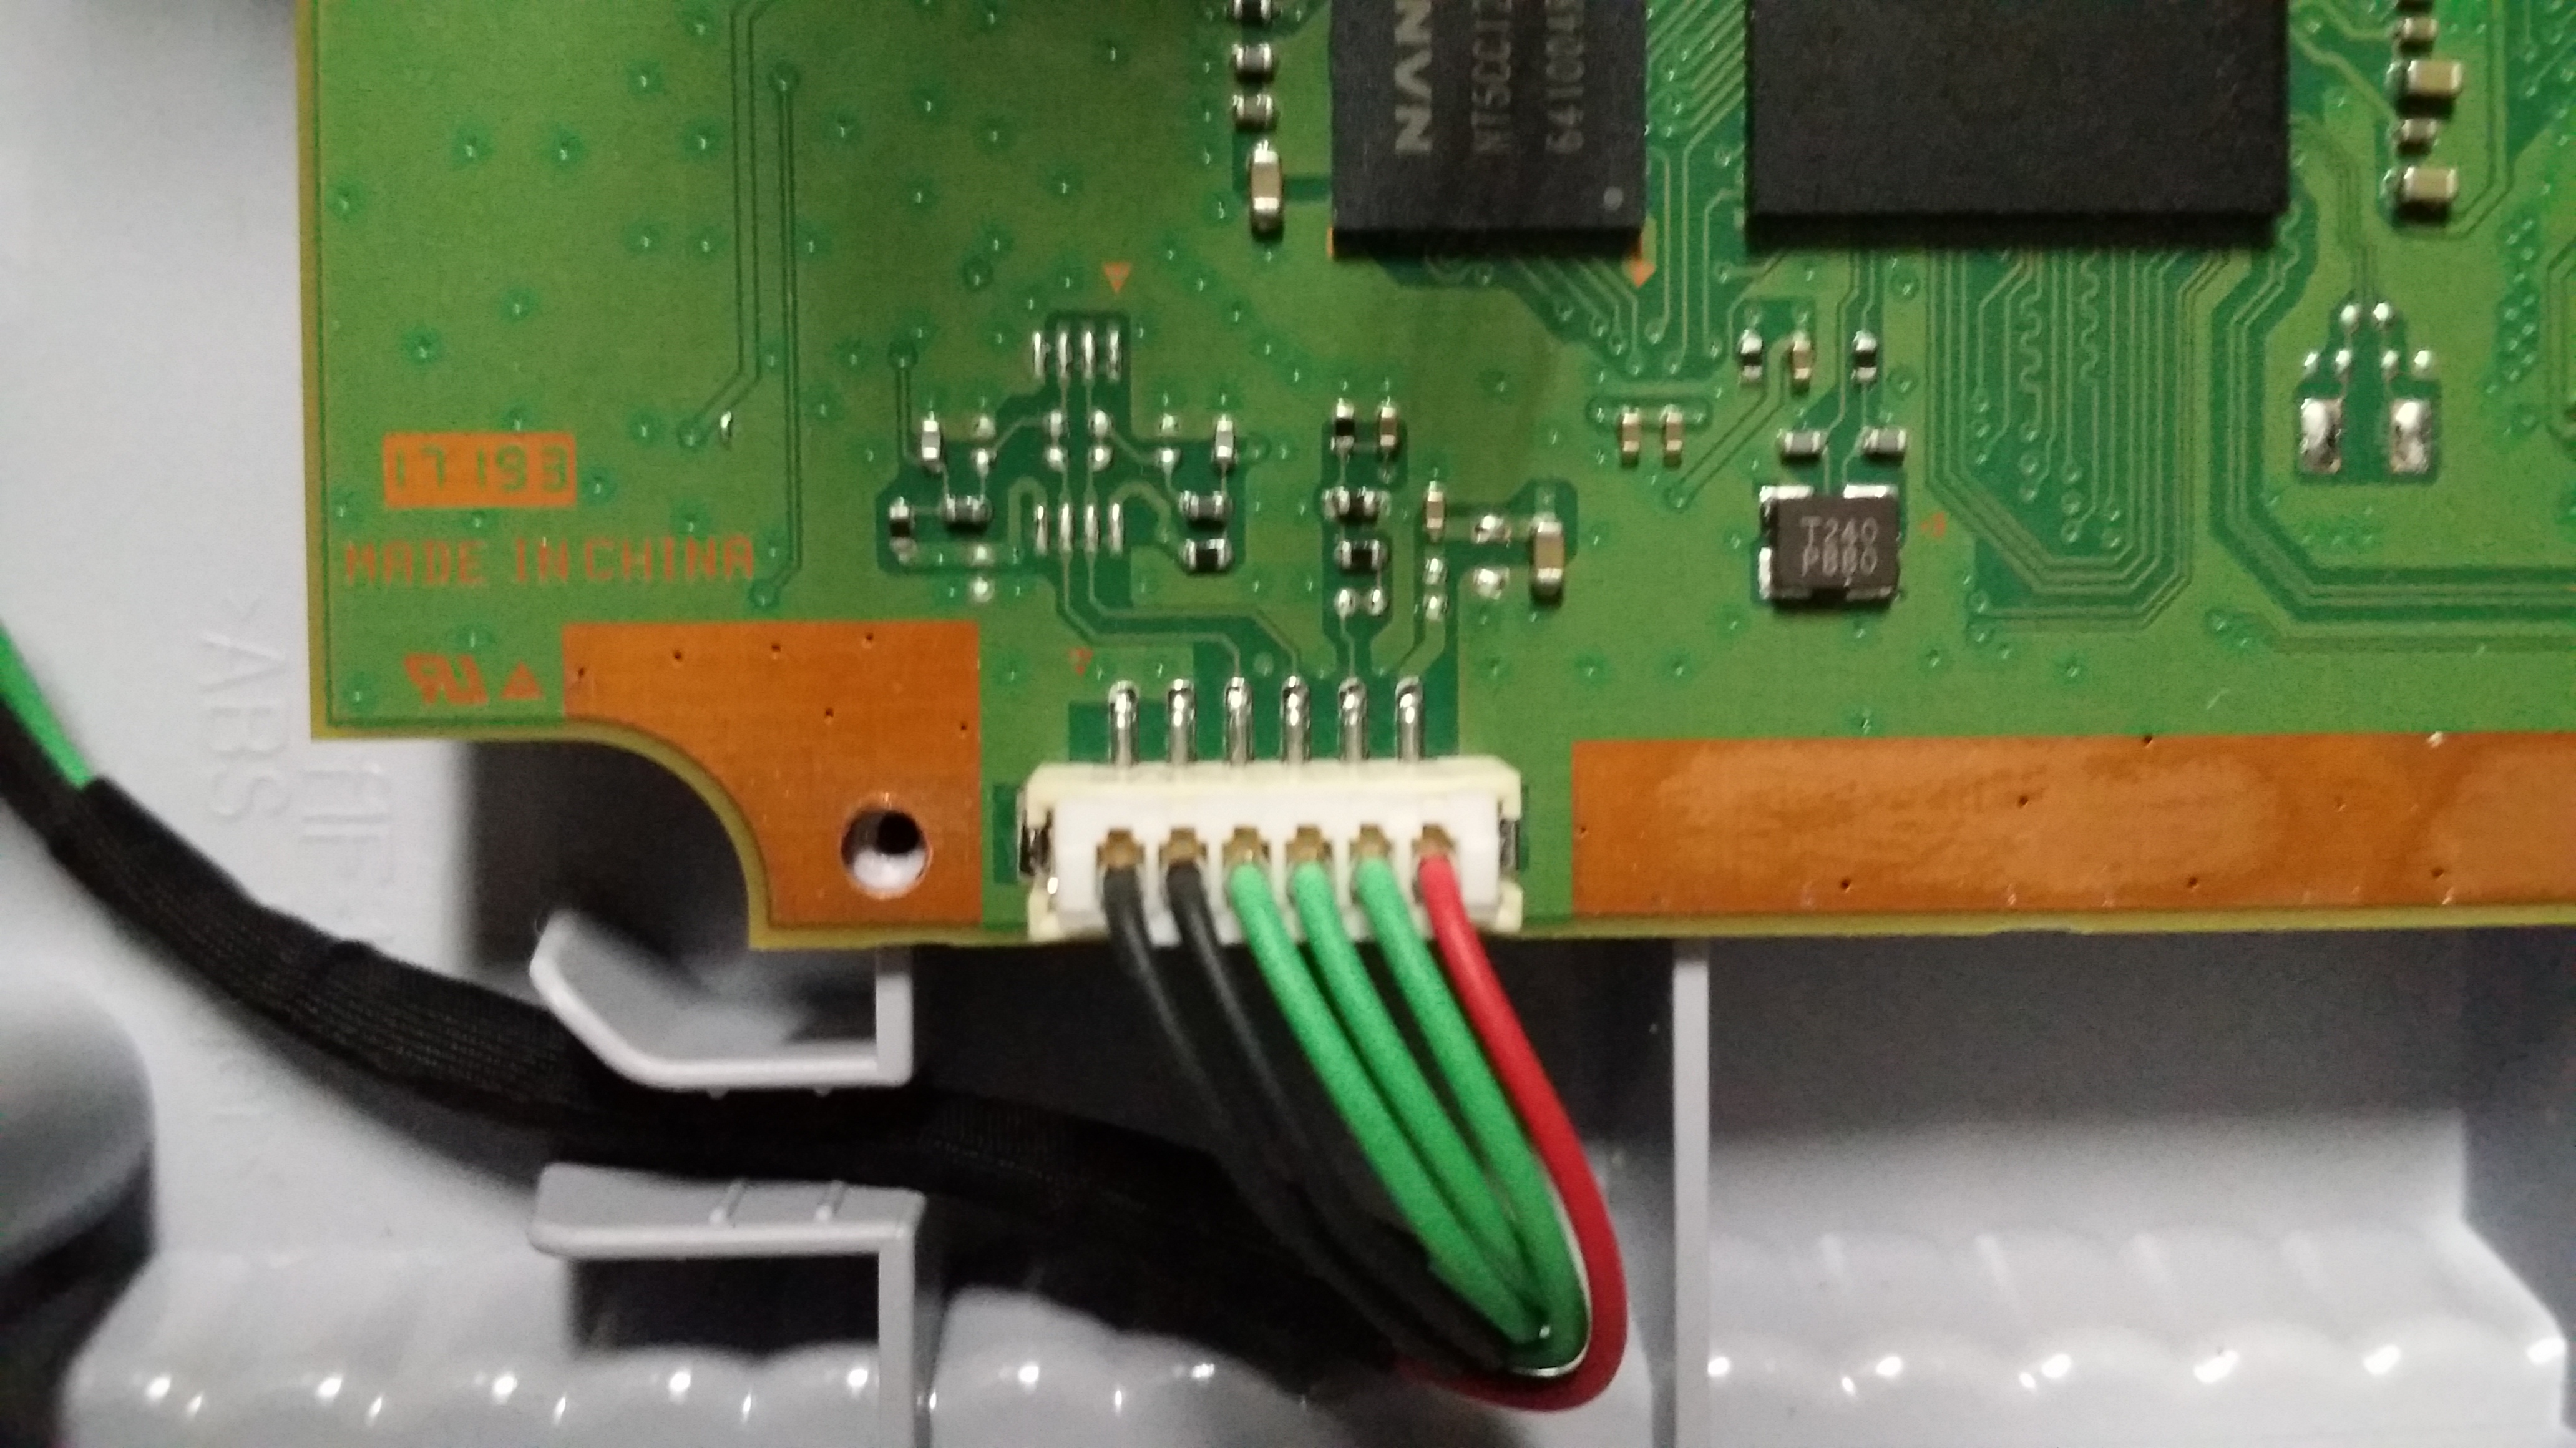
Once soldered it should look like this:
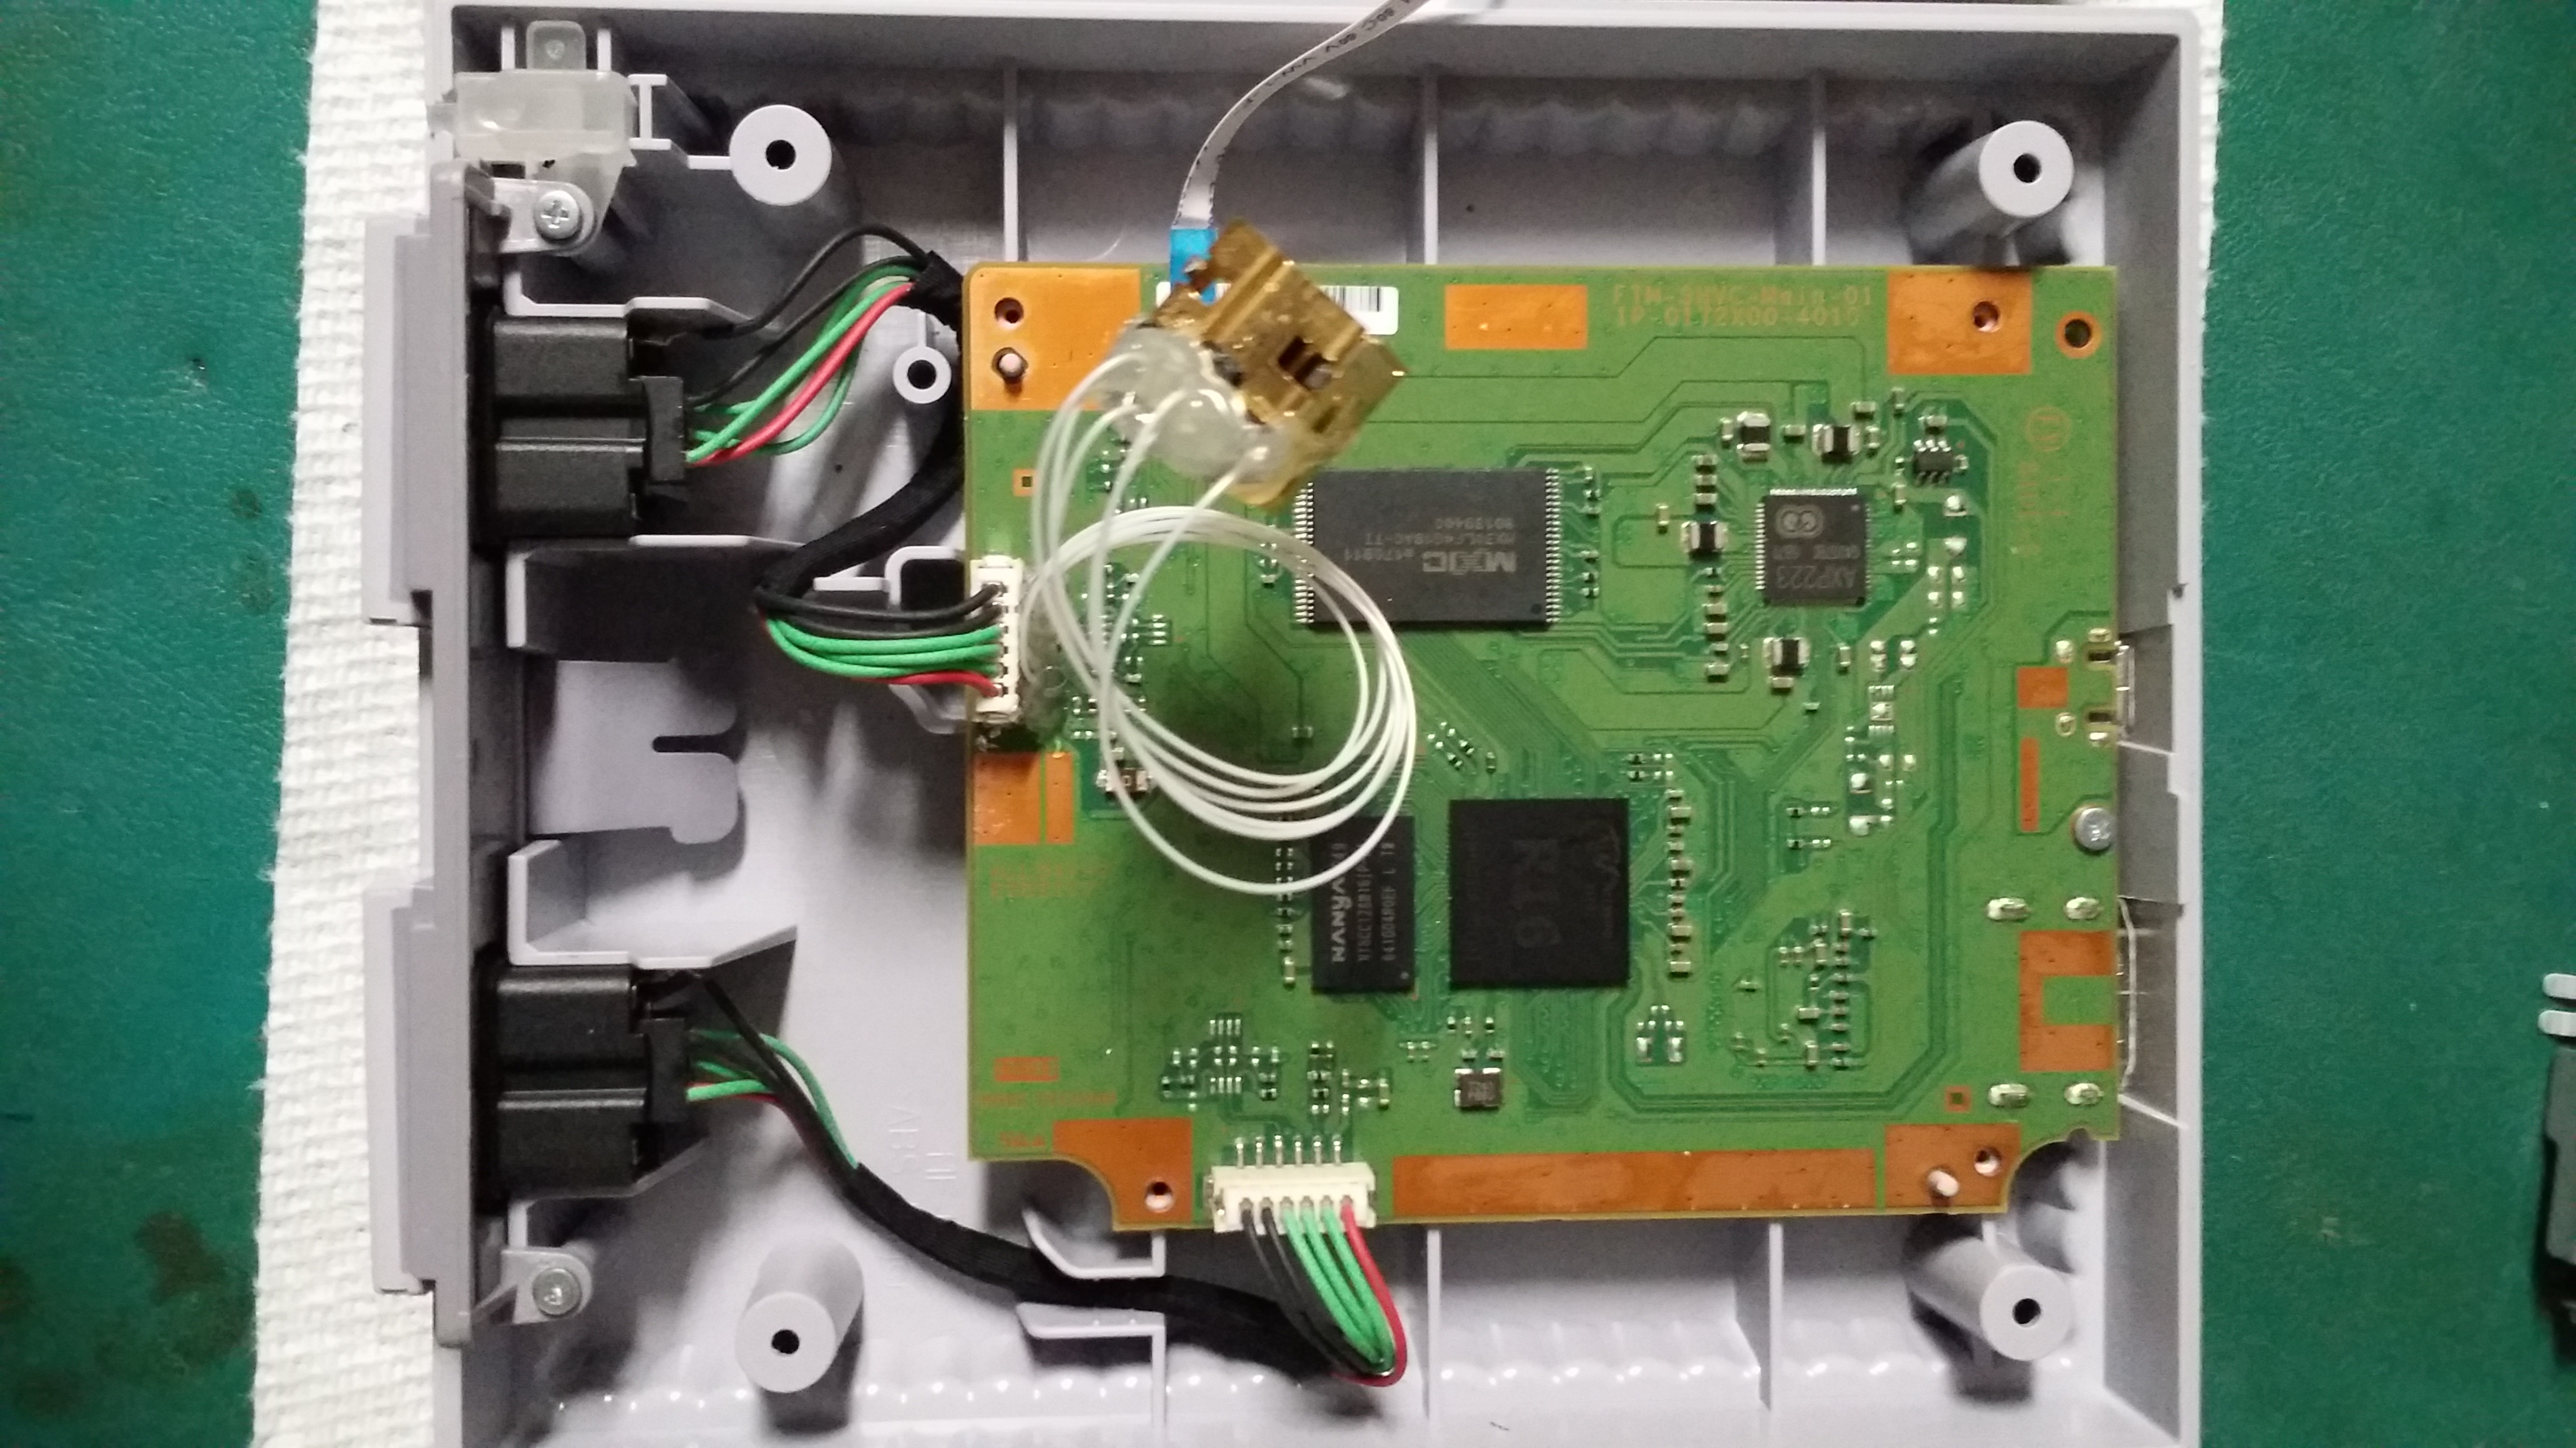
6- Repeat steps 3, 4 and 5 for player two if needed!
7- Screw the shielding back on top of the board, keep wires out of it, I personally added hot glue to the soldered wires so they wouldn't touch either and also to protect your work. **don't put too much or shielding won't fit!
8- Connect your connectors to the retro receivers
9- Screw everything back together and pair your controllers through vents. (I marked the vents where the pair buttons are so it's easier to pair controllers)
You'll see the blinking light through the vent turn to solid light when it's paired!!
Visual quick guide:

ENJOY!!!
***NOTE***
If you want to use wired Wii Classic Controller/Wired Fighting pad (WiiU) or any wired controller which has a joystick it'll most likely be acting funny... (I tried many pads and they all went crazy even though they were in 100% working condition) This is most likely due to the fact we now have clone ports and the console might not like that. NO ISSUE WHATSOEVER WHEN USING THE ORIGINAL CONTROLLERS (SNES/NES)
So was born my desire to mod the console to be entirely wireless. I had a concept in mind, cloning the controller ports and making them internal so you wouldn't have two wireless dongles sticking out the front of the console.
As soon as 8bitdo updated their retro receiver to be compatible with the SNES Classic it was Go, I knew Hakchi would be out soond so it satisfied my need for tinkering with it!
Here's how you can do it:
Required:
-2X Wiimote "nunchuck" female connector (can use clone controllers)
-1 or 2 Retro receivers
-wires
-soldering iron
-rosin core solder
1- First you have to open up the console which is quite easy as it's only 4 philipps screws under each plastic pads under the console.
2- Unscrew the shielding/heat sink from the MB (same screws as the case)
3- Prepare your Wireless Retro Receivers;
To be able to use the pair button (if you plan on using your controllers for other systems) place them in the top part of the console shell with the red button facing the rear of the console so you can see the blinking lights and have access to the pair button through the vents. (I personally used hot glue to stick them, didn't use much if I ever want to remove them) **place them facing the top of the shell because your connectors pins could touch the shielding/heatsink and could short, MAKE SURE THE BUTTONS LINE WITH THE VENTS
4- Start soldering wires to the Wii remote connector;
Your connector will have 6 pins and 4 leg, solder a wire to one of the leg for ground.
The connector pins should look like this:
FRONT OF THE CONNECTOR
________________ leg°_________°leg
______________________° ° °
______________________° ° °
________________ leg°_________°leg
The remaining 5 cables should be wired to 5 of the pins, only the top middle pin is left empty, we'll label them like this:
1- Ground leg (any)
2- Top right
3- Bottom right
4- Top left
5- bottom middle
6- bottom left
Once your connector has it's 6 wires soldered I advice to secure everything with hot glue, you don't want wires to touch and short!!
5- You can now solder your connector to the board, it's an easy step, the reason I numbered the pins as such, that's the order they're in on the connector, you want to solder on the obvious traces next to the connector.
Once soldered it should look like this:
6- Repeat steps 3, 4 and 5 for player two if needed!
7- Screw the shielding back on top of the board, keep wires out of it, I personally added hot glue to the soldered wires so they wouldn't touch either and also to protect your work. **don't put too much or shielding won't fit!
8- Connect your connectors to the retro receivers
9- Screw everything back together and pair your controllers through vents. (I marked the vents where the pair buttons are so it's easier to pair controllers)
You'll see the blinking light through the vent turn to solid light when it's paired!!
Visual quick guide:
ENJOY!!!
***NOTE***
If you want to use wired Wii Classic Controller/Wired Fighting pad (WiiU) or any wired controller which has a joystick it'll most likely be acting funny... (I tried many pads and they all went crazy even though they were in 100% working condition) This is most likely due to the fact we now have clone ports and the console might not like that. NO ISSUE WHATSOEVER WHEN USING THE ORIGINAL CONTROLLERS (SNES/NES)
Last edited by The Frenchman,


