Tutorial  Updated

Create & Use NTR LayeredFS Plugins

image.jpg

[ Introduction ]

Welcome to another kick-ass guide by Cots. In this guide you'll learn how to create and use the NTR Debugger's LayeredFS plugins. Using these plugins you can modify the contents of Nintendo 3DS games allowing you to create game patches for purposes of texture hacking, translation, asset replacement, etc... Even though the NTR Debugger is not being worked on anymore it is still a viable option and alternative to HANS and is used by many in the community for its robust features such as game streaming, cheating and of course LayeredFS plugins.

[ Requirements ]

* a9lh (arm9loaderhax) Old or New Nintendo 3DS
* 3DS Game already installed onto the Home Menu
* BootNTR - https://github.com/astronautlevel2/BootNTR/releases
* NTR CFW 3.4 Preview 2 - ttps://github.com/44670/BootNTR/releases (NTR_3.4PREVIEW2_STARTER_KIT.zip)
* NTR LayeredFS - http://www.mediafire.com/download/upx189osoighcur/NTR_LayeredFS.rar
* BrainDump - https://github.com/neobrain/braindump/releases
* devkitpro - http://devkitpro.org/wiki/Getting_Started
* Python 2.7.12 - https://www.python.org/downloads
* PackHack - http://pastebin.com/A1s8cmsD


To start things off you'll need to install a few things to get the environment required for created plg (plugin) files for NTR and also get your 3DS prepared for running the LayeredFS plugins.

[ Preparing the Environments ]


image.jpg

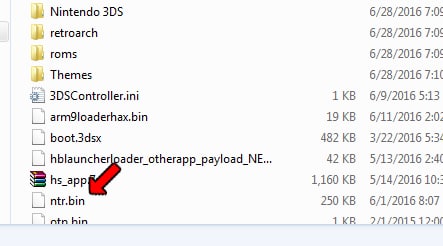
(1) Copy "NTR.BIN" from the NTR_3.4PREVIEW2_STARTER_KIT.zip to the [root] of your 3DS SD Card

image.jpg

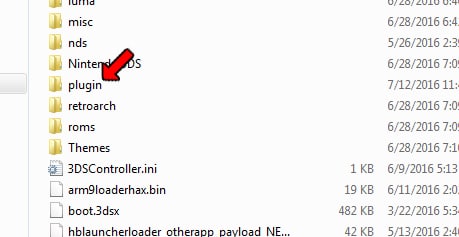
(2) Create a folder in the [root] of your 3DS SD Card name /plugin/

image.jpg

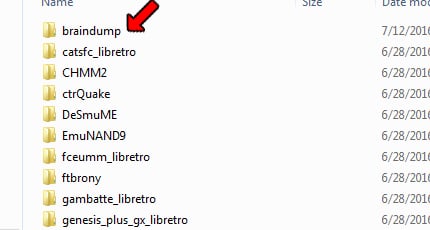
(3) Copy the "braindump" folder from the 7z file to /3ds/ folder on your 3DS SD Card (you will launch in from the homebrew launcher)

image.jpg

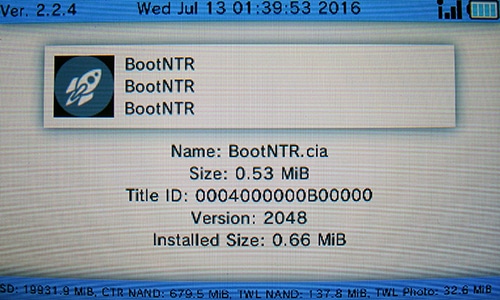
(4) Install BootNTR.cia using your favorite CIA Manager

image.jpg

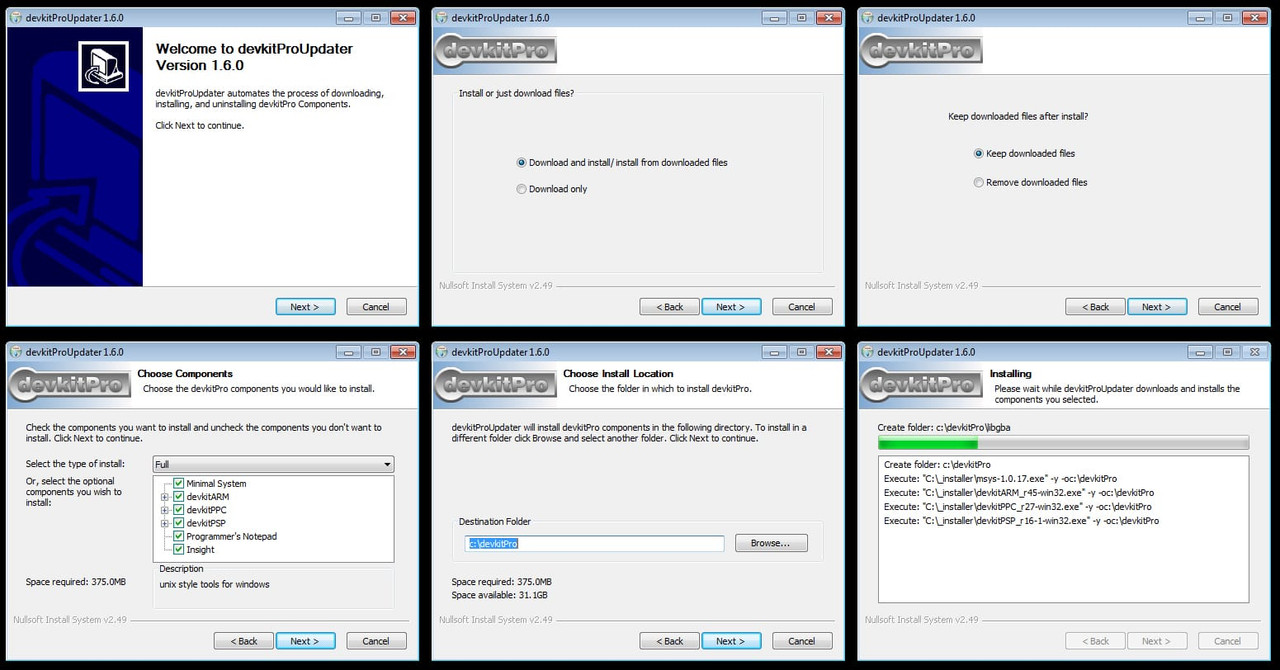
(5) Install devkitpro using the "Windows Installer/Updater package"

image.jpg

(6) Install Python 2.7.12

image.jpg

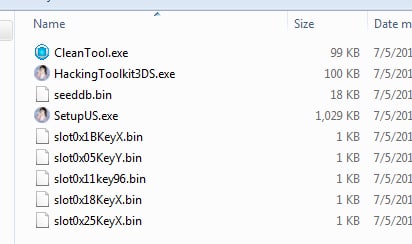
(7) Copy the contents of PackHack archive from /PackHack/ & /SecretFiles/ to a folder on your hard drive (combine the two folders inside of the archive) and then install the "SetupUS.exe" program

image.jpg

(8) Copy the \Layeredfs\ folder from the "NTR LayeredFS" archive to a folder on your hard drive

[ Part 1 - Game Data ]

09a.jpg

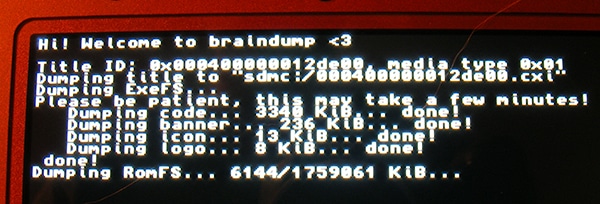
The first thing you're going to need to do after setting up the environment is to fetch the game data from the game you're going to be working with. This is accomplished by running braindump from your Homebrew Launcher.

09b.jpg

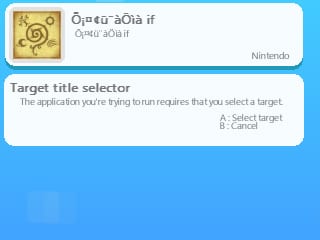
Once you launch braindump you can browse your installed system titles by pressing "Left/Right" until you find the game you're going to be editing. Press "A" on it and sit back and relax as this process could take some time.

image.jpg

What you'll end up with is a CXI dump of your game's RomFS partition. This is a package containing most of the game data that is accessed by the 3DS including fonts, scripts, graphics, sounds and other types of files.

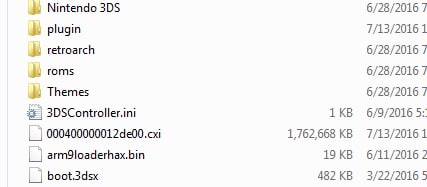
Locate the CXI file on the [root] of your 3DS SD Card and copy it onto your computer into the folder you extracted PackHack into. PackHack will be used to extract the contents of the CXI so you can edit them. Take note of the file name of the CXI as it represents the Unique Title ID of the game you're going to be editing as the ID is used by NTR to load your customized assets.

image.jpg


image.jpg

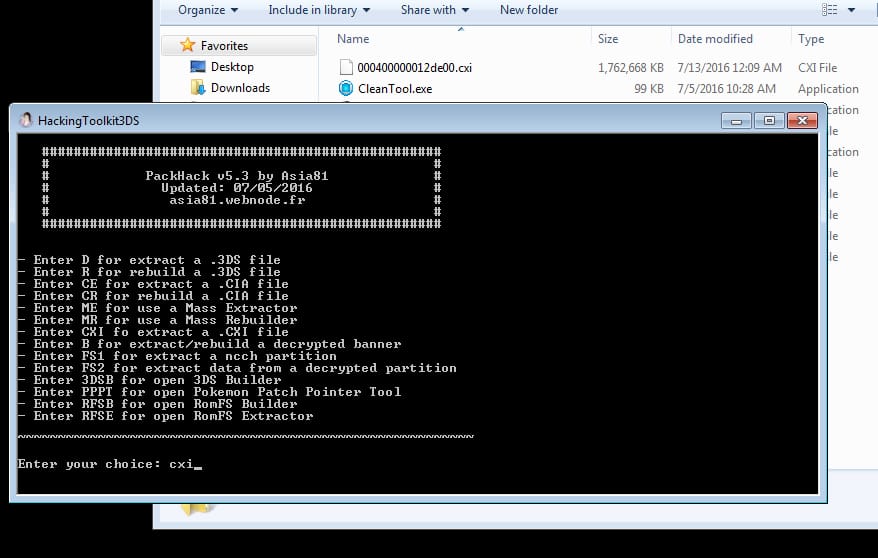
To extract the contents of the CXI run PackHack and from the main menu type in "CXI" and then press "enter". This will extract all of the contents within the CXI into the folder you're running PackHack from. Next type in the name of the CXI file (without an extension) and type in "n" when it asks you about decompressing code.bin.

[ Part 2 - Creating the plg ]

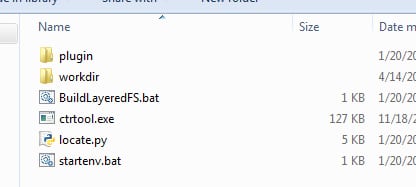
Next locate the "DecryptedExeFS.bin" file inside of the "PackHack" folder and copy it to the "LayeredFS\workdir" and then rename it to "ExeFS.bin".

Now run the "BuildLayeredFS.bat" batch file. If you get an error saying "MSVCR120.dll is missing" visit this site and grab the 32-bit version and then place it inside the LayeredFS folder.

image.jpg

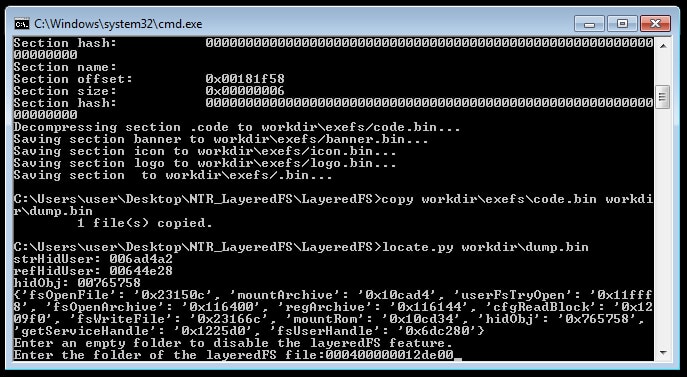
Once the BuildLayeredFS batch file does some of its thing it will ask you to "Enter the folder of the layeredFS file". Now enter in the Unique ID (the file name of the CXI without the extension) and press "enter".

image.jpg

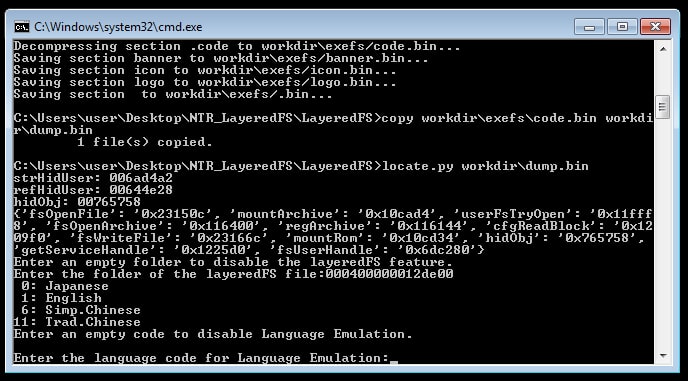
It will then ask you for the Language Code for the Language Emulation and if you're not going to be using this just press "enter" (Luma CFW does this automatically now so you shouldn't need it).

image.jpg


image.jpg

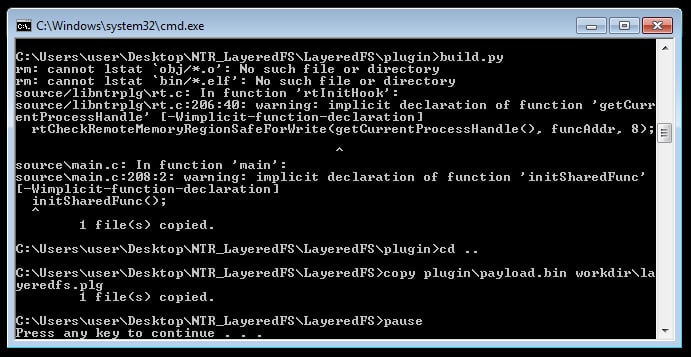
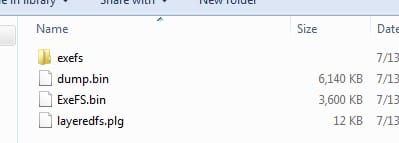
When the program finishes you will have a "layeredfs.plg" file inside of the "LayeredFS\workdir" folder.

image.jpg

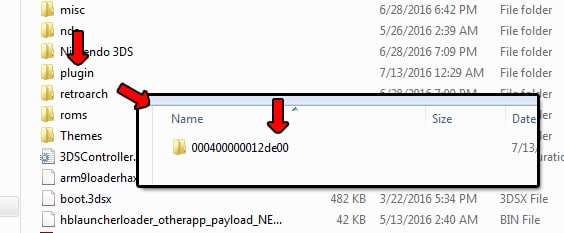
Next create a folder on your 3DS SD Card inside of the plugin folder and name it the Unique ID and then place the "layeredfs.plg" file you just created into that folder.

image.jpg

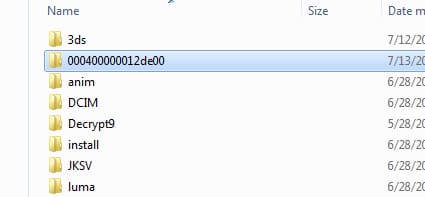
You'll also want to create a folder in the [root] of your 3DS SD Card and name it the Unique ID too. This folder is where the contents of the RomFS that you replace/change will be located. If you look at the contents of "\PackHack\ExtractedRomFS\" you will see all of your games files. So if you change "\scripts\A000_Terrain.cmb" (using this name as an example only) you'll want to create a folder in the Unique ID folder on your 3DS SD Card named "scripts" and place the modified "A000_Terrain.cmb" inside of it.

[ Part 3 - Running NTR w/Hacks ]

image.jpg

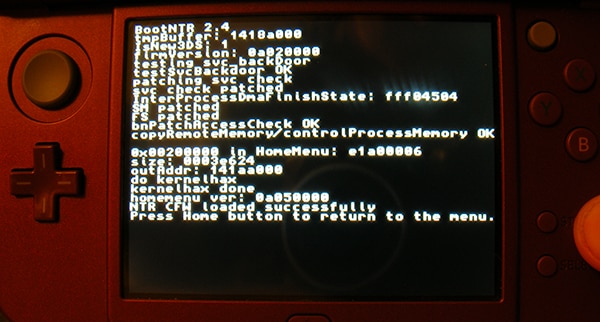
Once you're done editing you files copy them over to the folder in the [root] of your 3DS's SD Card (the Unique ID folder you created) and then turn on your 3DS and run NTR. If all goes well you'll be told to press the home button to return. To check if NTR is working press X + Y to see its onscreen menu.

Now run the game you've been working with and keep an eye on the top Nintendo 3DS boot screen. If it flashes green you're good to go and anything you've replaced will now load.

That's all there is too it. I hope you find this guide useful.

I'd like to thank TheLegendofMario for helping me with getting to know NTR's LayeredFS system!

image.jpg

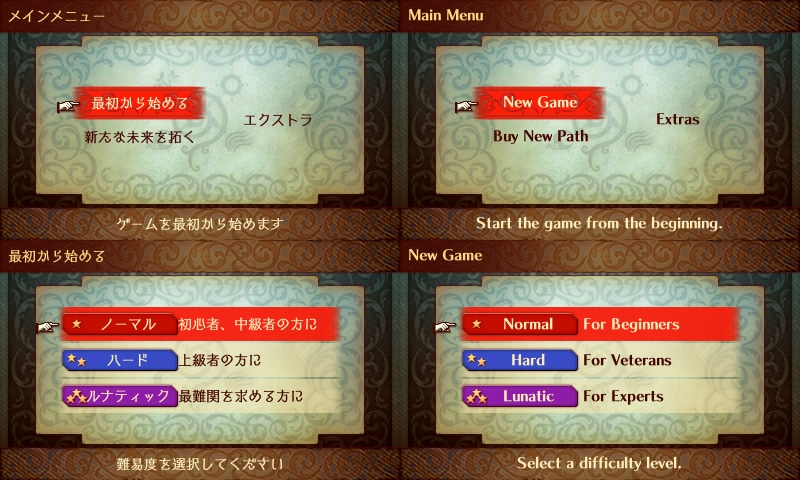
(this is an example of an english translation layeredfs plugin)
pitt.gif
 
Last edited by cots,

Gray_Jack

Well-Known Member
Member
Joined
Jan 13, 2016
Messages
732
Trophies
0
XP
407
Country
@cots
The NTR 3.4 works on the Old 3DS, but there is a N3DS only feature, to stream the game on PC
This tutorial will work on a Old 3DS
 

zFerry

Active Member
Newcomer
Joined
Jul 15, 2016
Messages
41
Trophies
0
Website
thesewer2.ddns.net
XP
622
Country
Italy
Error during build .plg
NO PAYLOAD.bin in Plugin folder of the NTRlayered folder.
(Yeah, in plugin folder there isn't a file called payload.bin)

A screen of the error

LAYEREDfs-PAYLOAD.jpg
 

cots

Banned!
OP
Banned
Joined
Dec 29, 2014
Messages
1,533
Trophies
0
XP
1,952
Country
United States
Error during build .plg
NO PAYLOAD.bin in Plugin folder of the NTRlayered folder.
(Yeah, in plugin folder there isn't a file called payload.bin)

A screen of the error

View attachment 56206

That step is when it copies and renames the .plg file which is not being created for you. Make sure that Devkitpro is in you PATH environment variables.
 

zFerry

Active Member
Newcomer
Joined
Jul 15, 2016
Messages
41
Trophies
0
Website
thesewer2.ddns.net
XP
622
Country
Italy
That step is when it copies and renames the .plg file which is not being created for you. Make sure that Devkitpro is in you PATH environment variables.

Thank you.
I worked a little about environment variables, in the end it worked.
Now let's see if it works on the console.
Thanks again
 

zFerry

Active Member
Newcomer
Joined
Jul 15, 2016
Messages
41
Trophies
0
Website
thesewer2.ddns.net
XP
622
Country
Italy
Thank you.
I worked a little about environment variables, in the end it worked.
Now let's see if it works on the console.
Thanks again

OK, work but ...

I changed the base folder for RomFS "Unique ID" with "LayeredFS/Gamename" and don't works, so i open .plg on hexEditor and i see this "ram:/layeredFSGamename/", I modify it in "ram:/layeredFS/Gamename/" and it works.
Thanks for the tutorial and the help. :yay3ds:
 

cots

Banned!
OP
Banned
Joined
Dec 29, 2014
Messages
1,533
Trophies
0
XP
1,952
Country
United States
OK, work but ...

I changed the base folder for RomFS "Unique ID" with "LayeredFS/Gamename" and don't works, so i open .plg on hexEditor and i see this "ram:/layeredFSGamename/", I modify it in "ram:/layeredFS/Gamename/" and it works.
Thanks for the tutorial and the help. :yay3ds:

Cool! You figured out how to use sub-directories. This should make the clutter on the sd card not so bad.
 

Protatoxxxeater

Well-Known Member
Member
Joined
Jun 17, 2016
Messages
291
Trophies
0
XP
100
Country
United States
somebody told me that Ntr does all the things hans can do, im trying to load a code.bin but with NTR not hans, someone said i could use layeredfs and edit the code.bin and rebuild, it didnt work. is there another way to do this
 

Yokujin

Well-Known Member
Member
Joined
Mar 23, 2009
Messages
238
Trophies
1
XP
242
Country
Gambia, The
What did you not understand?
If it relates to the modification of the mod file directory, simply when you enter the path, write what you want.
If we talk about the problem with PATH, things get complicated ...
cddcb993fabf42fdb77abca9121309c9.png

this stuff and all
i have the same problem and nobody tells me how to get layeredfs to work with devkit
 

zFerry

Active Member
Newcomer
Joined
Jul 15, 2016
Messages
41
Trophies
0
Website
thesewer2.ddns.net
XP
622
Country
Italy
cddcb993fabf42fdb77abca9121309c9.png

this stuff and all
i have the same problem and nobody tells me how to get layeredfs to work with devkit

I DO NOT know how to speak English, so I will try to do my best.
You have to open "System" and click on "Advanced system settings", then "Environment Variables" and in the <System Variables> search for "PATH" to add the "X position: \ devkitPro \ devkitARM \ bin" where X stands for the united devkitPro where the program is installed.
Example: (For me this is it) "C: \ Program Files \ devkitPro \ devkitARM \ bin".
1.png 2.png 3.png 4.png
 
  • Like
Reactions: DolphinPussy

Yokujin

Well-Known Member
Member
Joined
Mar 23, 2009
Messages
238
Trophies
1
XP
242
Country
Gambia, The
I DO NOT know how to speak English, so I will try to do my best.
You have to open "System" and click on "Advanced system settings", then "Environment Variables" and in the <System Variables> search for "PATH" to add the "X position: \ devkitPro \ devkitARM \ bin" where X stands for the united devkitPro where the program is installed.
Example: (For me this is it) "C: \ Program Files \ devkitPro \ devkitARM \ bin".
View attachment 64776 View attachment 64777 View attachment 64778 View attachment 64779
yeah thanks it was devkit\msys something that didnt even exist
 

Site & Scene News

Popular threads in this forum

General chit-chat
Help Users
  • No one is chatting at the moment.
  • Psionic Roshambo @ Psionic Roshambo:
    It could get banned from PSN but you can change your ID I think?
  • Xdqwerty @ Xdqwerty:
    also gonna install twilight menu in my r4 flashcard
  • Psionic Roshambo @ Psionic Roshambo:
    One thing that just occurred to me.... The sound on the 2600 sucked less back then the harsh sound we hear now is from infinitely better speakers we have now, back when the 2600 was new speakers produced a almost muffled sound, like CRTs made old graphics look slightly better.
  • Psionic Roshambo @ Psionic Roshambo:
    I wonder if I could recommend that to some emulation devs that perhaps the sound could use some smoothing out to simulate those old TVs
  • Psionic Roshambo @ Psionic Roshambo:
    I think a few of the early systems could benefit from that, at least up to the 8 bit generation, by the 16 bit generation I think TVs had gotten a lot better in almost every way
  • Xdqwerty @ Xdqwerty:
    i dont have an sd card adapter but I have an usb sd card adapter
  • K3Nv2 @ K3Nv2:
    Old people games
  • Xdqwerty @ Xdqwerty:
    its not the one that comes with the r4
  • Xdqwerty @ Xdqwerty:
    doesnt work (my flashcard is from r4isdhc.com)
  • Xdqwerty @ Xdqwerty:
    might install ysmenu first
  • Psionic Roshambo @ Psionic Roshambo:
    Try Wood firmware
  • Psionic Roshambo @ Psionic Roshambo:
    For your R4
  • Psionic Roshambo @ Psionic Roshambo:
    It's old but it's the best firmware out for DS stuff
  • Xdqwerty @ Xdqwerty:
    it says it only works for the original R4, R4i Gold (r4ids.cn), R4iDSN (r4idsn.com) and Acekard R.P.G.
  • Xdqwerty @ Xdqwerty:
    nvm it does support mine
  • Xdqwerty @ Xdqwerty:
    but why choose it over ysmenu @Psionic Roshambo?
  • Xdqwerty @ Xdqwerty:
    bc im stupid?
  • Xdqwerty @ Xdqwerty:
    yea ik im stupid
  • Xdqwerty @ Xdqwerty:
    good night
  • Psionic Roshambo @ Psionic Roshambo:
    Just give it a try, but honestly if you have a 3DS you can play DS games without a card just off the internal SD card
  • Psionic Roshambo @ Psionic Roshambo:
    Slightly slower loading but a bit more convenient
  • BakerMan @ BakerMan:
    guys, my fuckin headphones have an out of place speaker
  • K3Nv2 @ K3Nv2:
    Did you try wearing them?
    K3Nv2 @ K3Nv2: Did you try wearing them?